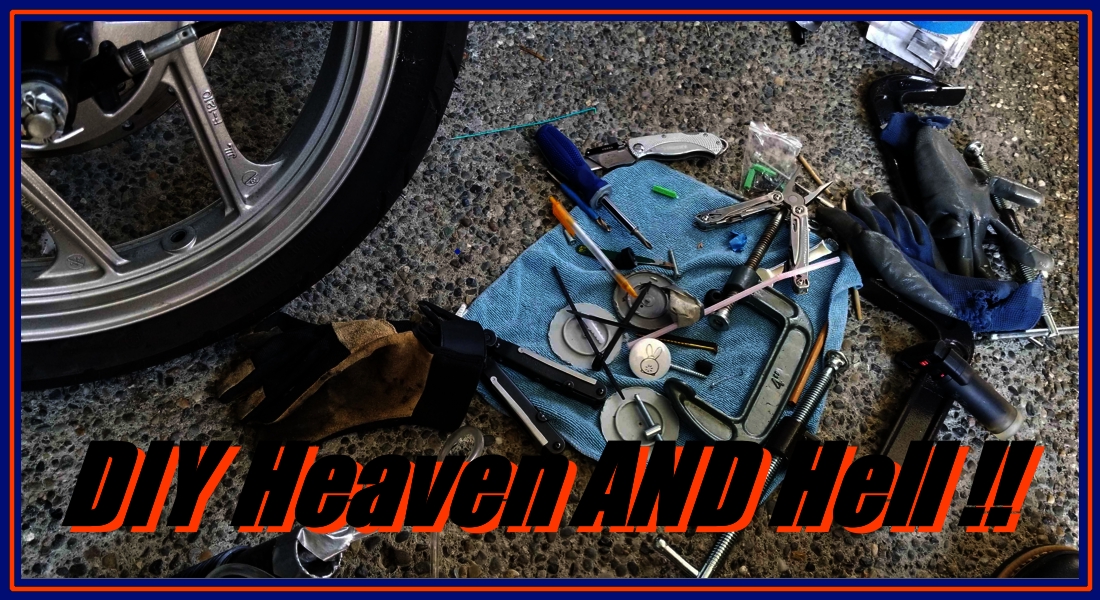
DIY Heaven AND Hell !
Or
(Installing right angle motorcycle Valves WITHOUT removing tires)
Ever catch an incredibly novel DIY idea via BooTube? That “Quick Fix” or K.I.S.S. video or photo blog essay espousing some crazy concept when it comes to fixing, making, repairing or otherwise do-it-yourself endeavour at…. “Altering Anything” ?
Admit it. When most of us are perusing motorcycle videos online or reading the newest and latest online magazine, we ALL absorb or contribute to new and interesting ideas!
Whether in the form of re-invented methods covering cleaning your moto machine(s), fixing a flat, measuring valve clearances etc.; we are all game in absorbing the information! Better yet, many of us roll up our sleeves, give something a try and are more than willing to contribute our additional spin on the newest, latest or trending DIY trend! (Even better, some of us have our own original concepts…..who knew!)
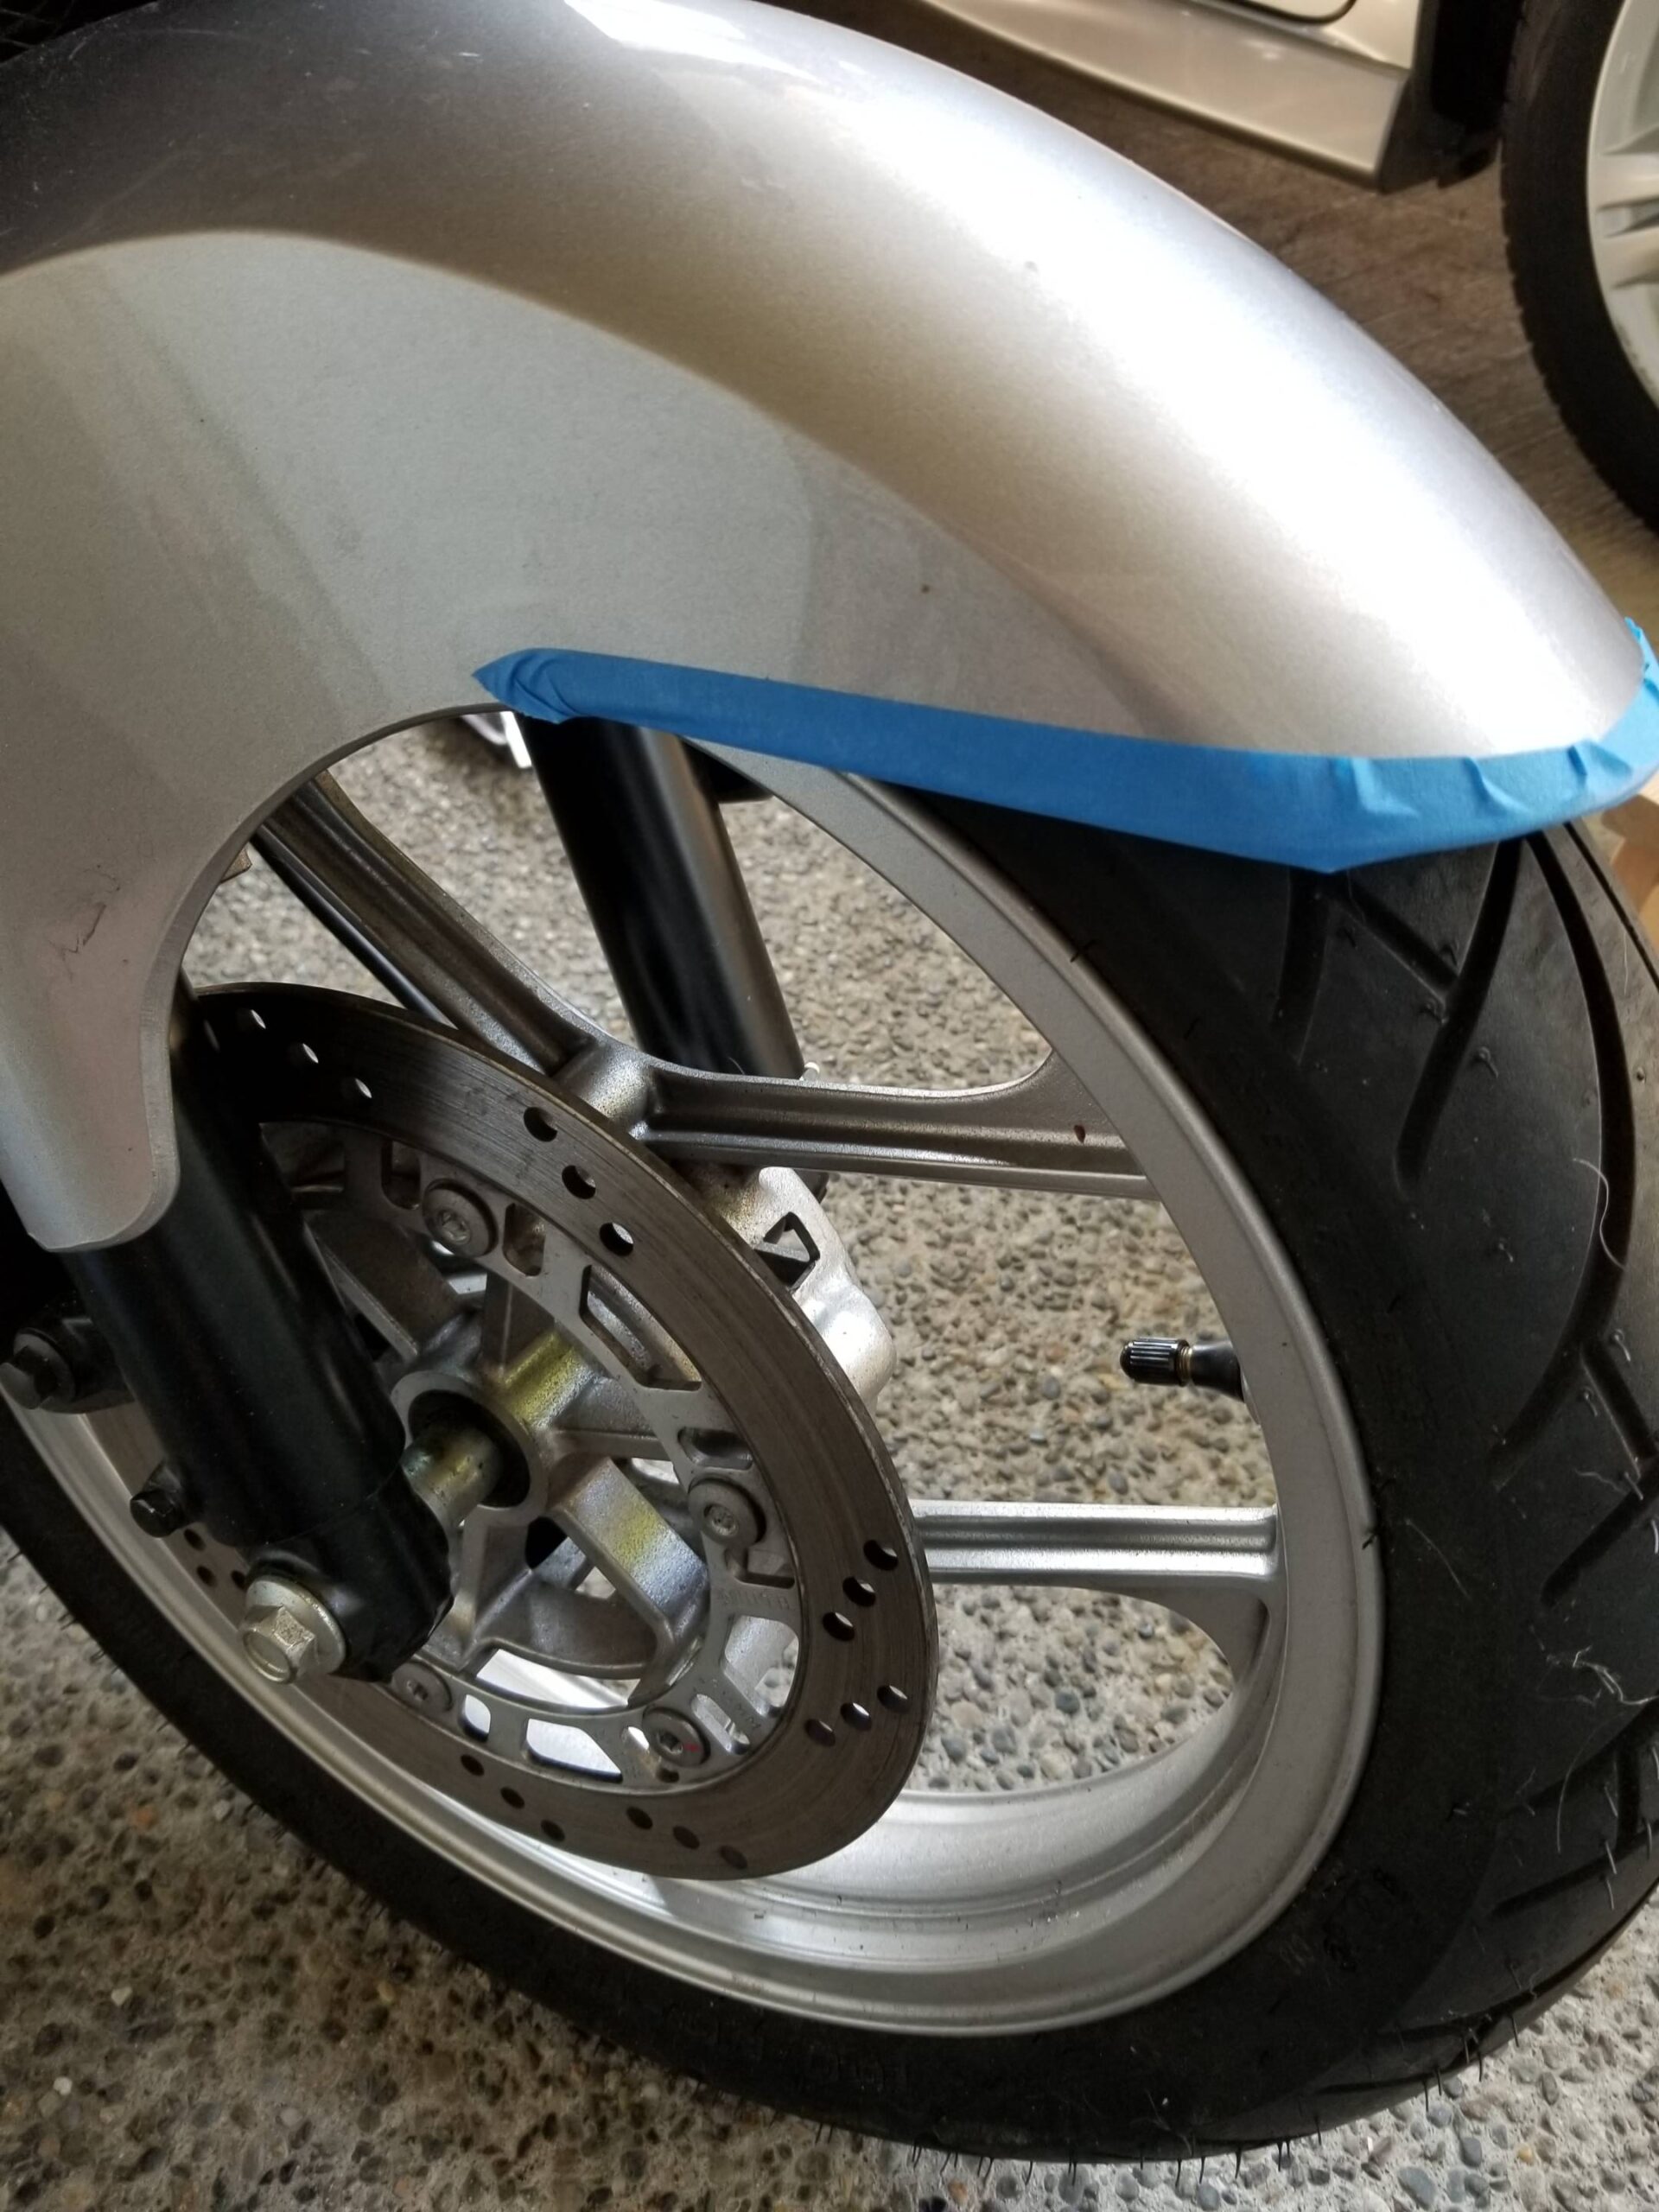
Preparing fender for possible disaster!
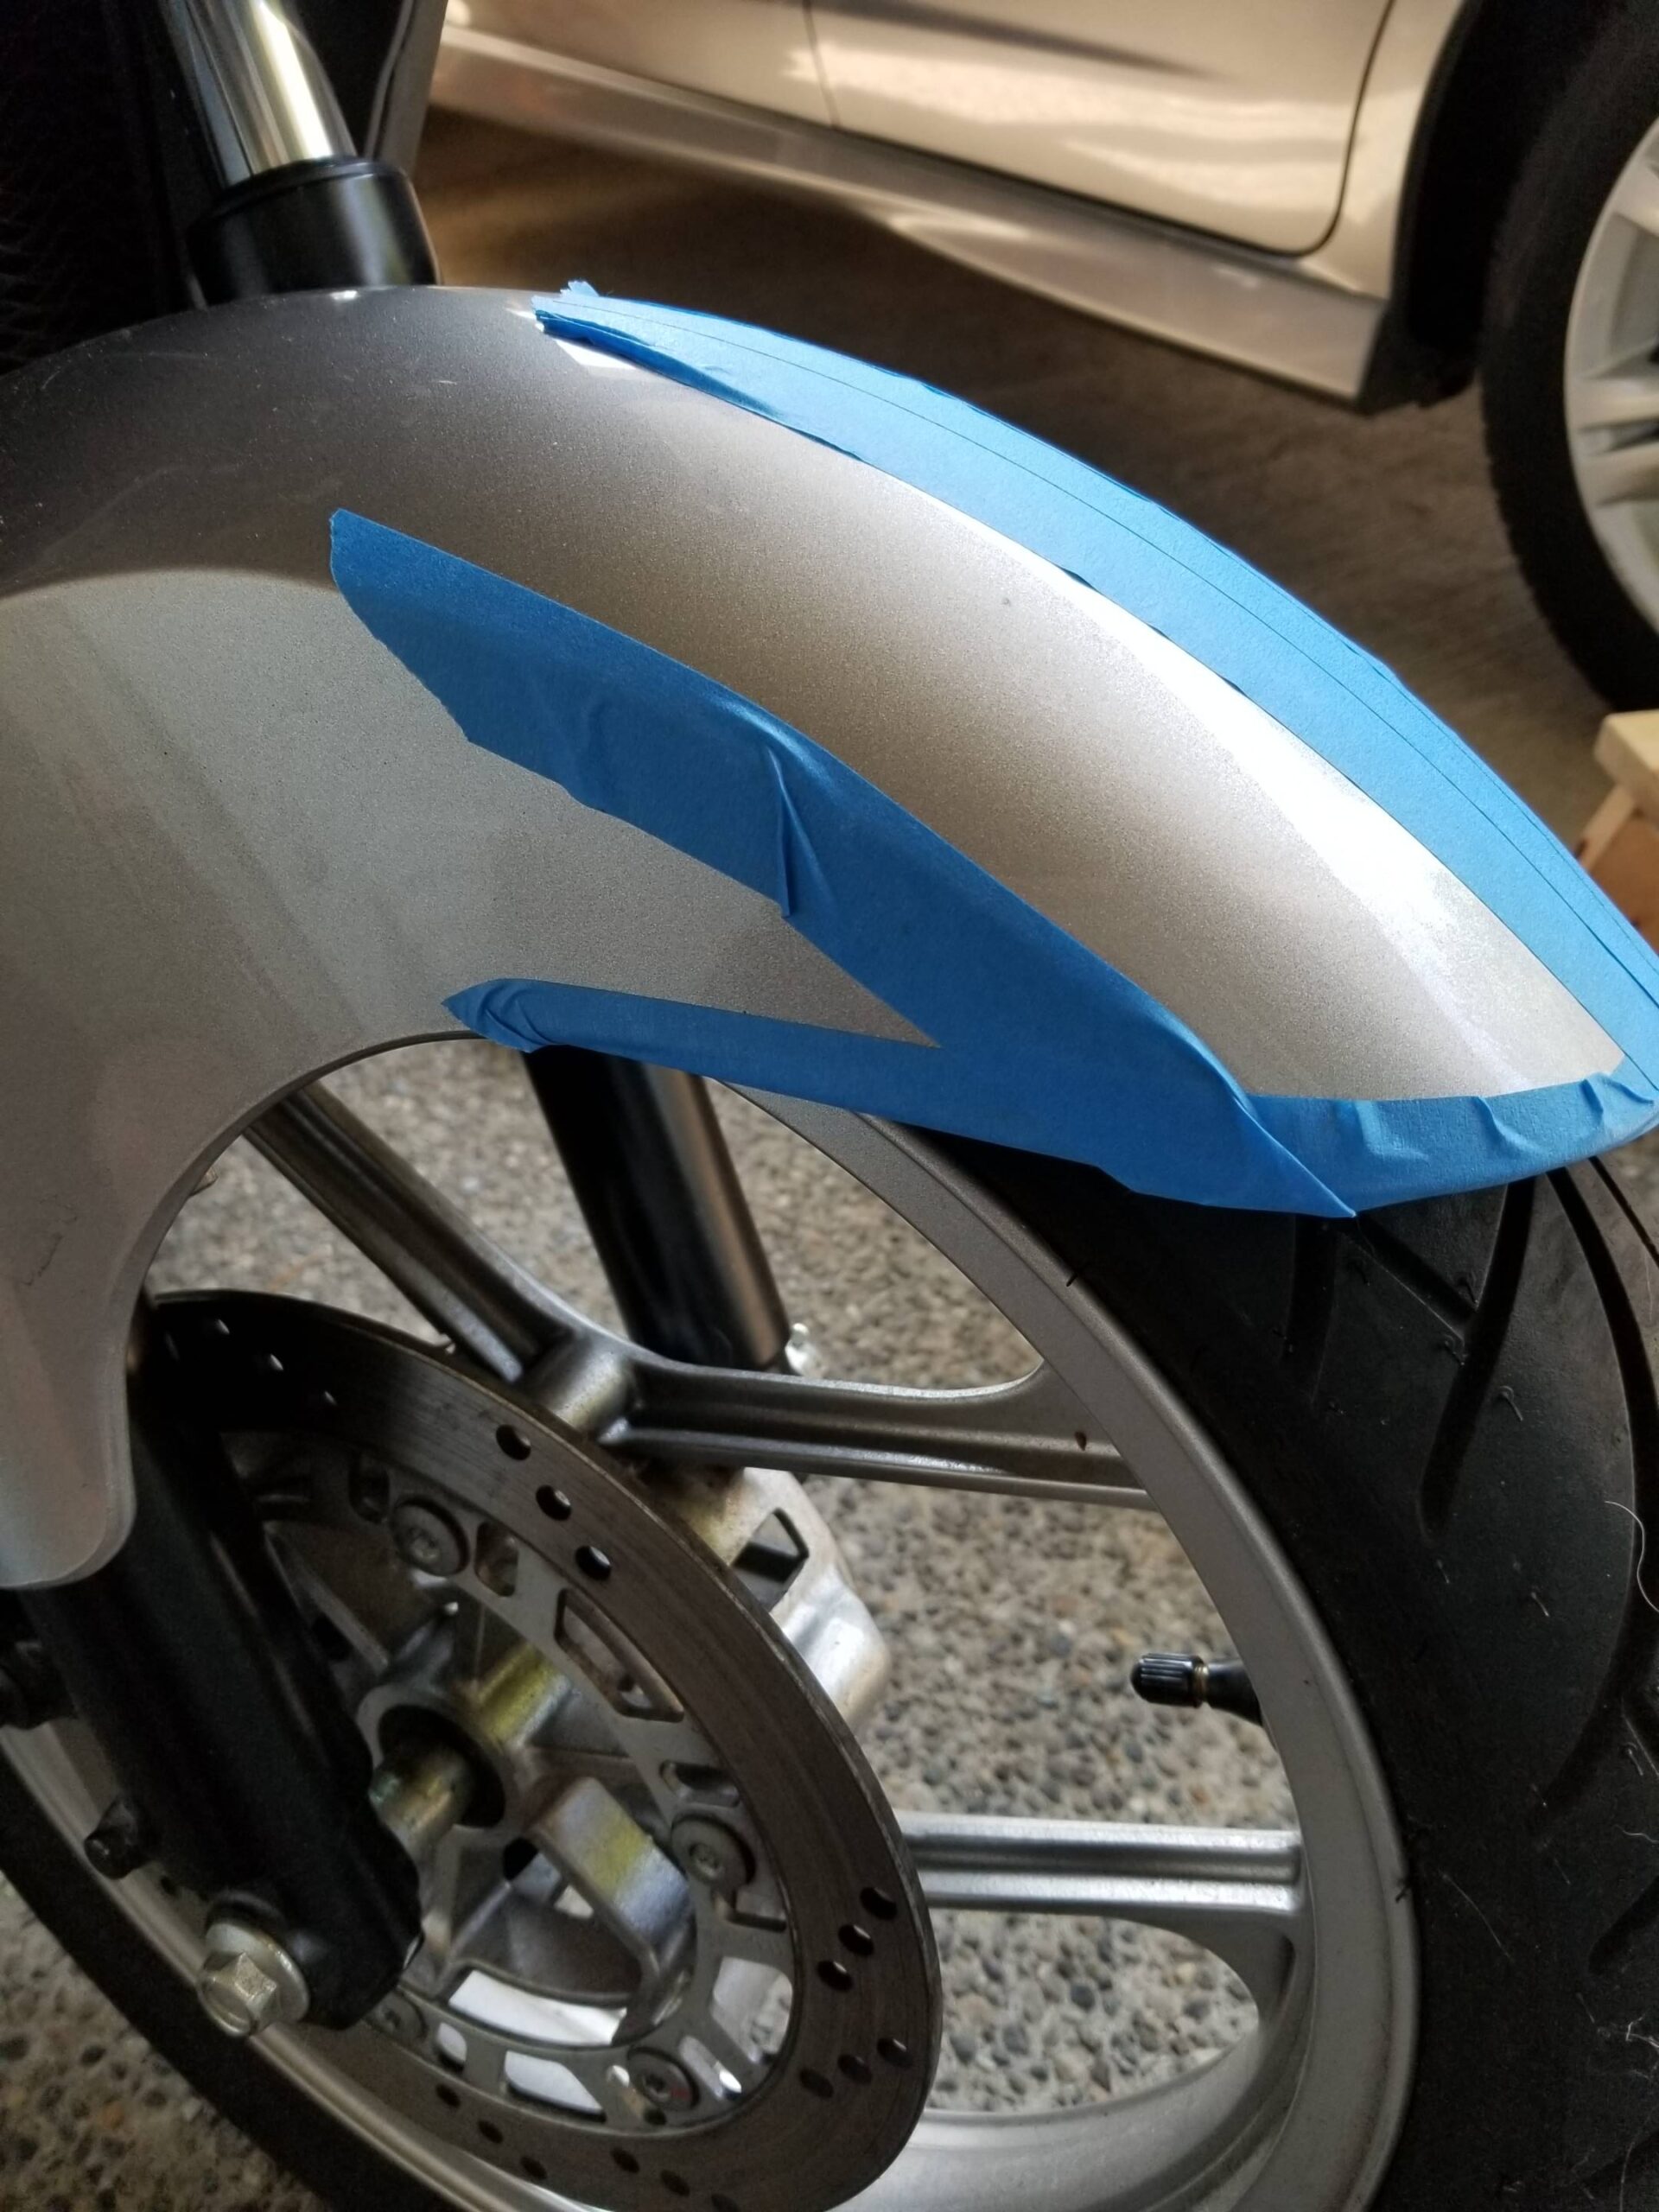
MORE Blue Tape !!
When we here at Motosquirrel recently saw a video covering the replacement of old tubeless tire valve stems with new ones….wait for it……….WITHOUT removing the tires all-together: We HAD to try it!
Why you may ask?
What needs to be installed into the trickiest of places……(Think corking a giant raft out to sea, that is already in the water, pressurized and doesn’t feel like “Playn’ !)
In case you have been on recent vacation from Planet Earth, there has been a very elaborate effort to “Flatten The Curve”, which was supposed to protect the inhabitants of Earth from a virus that would surely kill them, BUT instead, the slowing of the economies of the world, combined with an overly experimental vaccine(s) have contributed to whole industries, countries and ways of life to come to an almost grinding halt. All this while suffering from new illnesses created by the same said “Vaccine(s)”. We here at Motosquirrel do not care for politics, but can contribute that there are a certain rich few on the planet that would be very, very content on ruling it from ONE government, from ONE capital, and to rule under THEIR one set of rules. As Americans, we here at Motosquirrel find this concept repugnant!
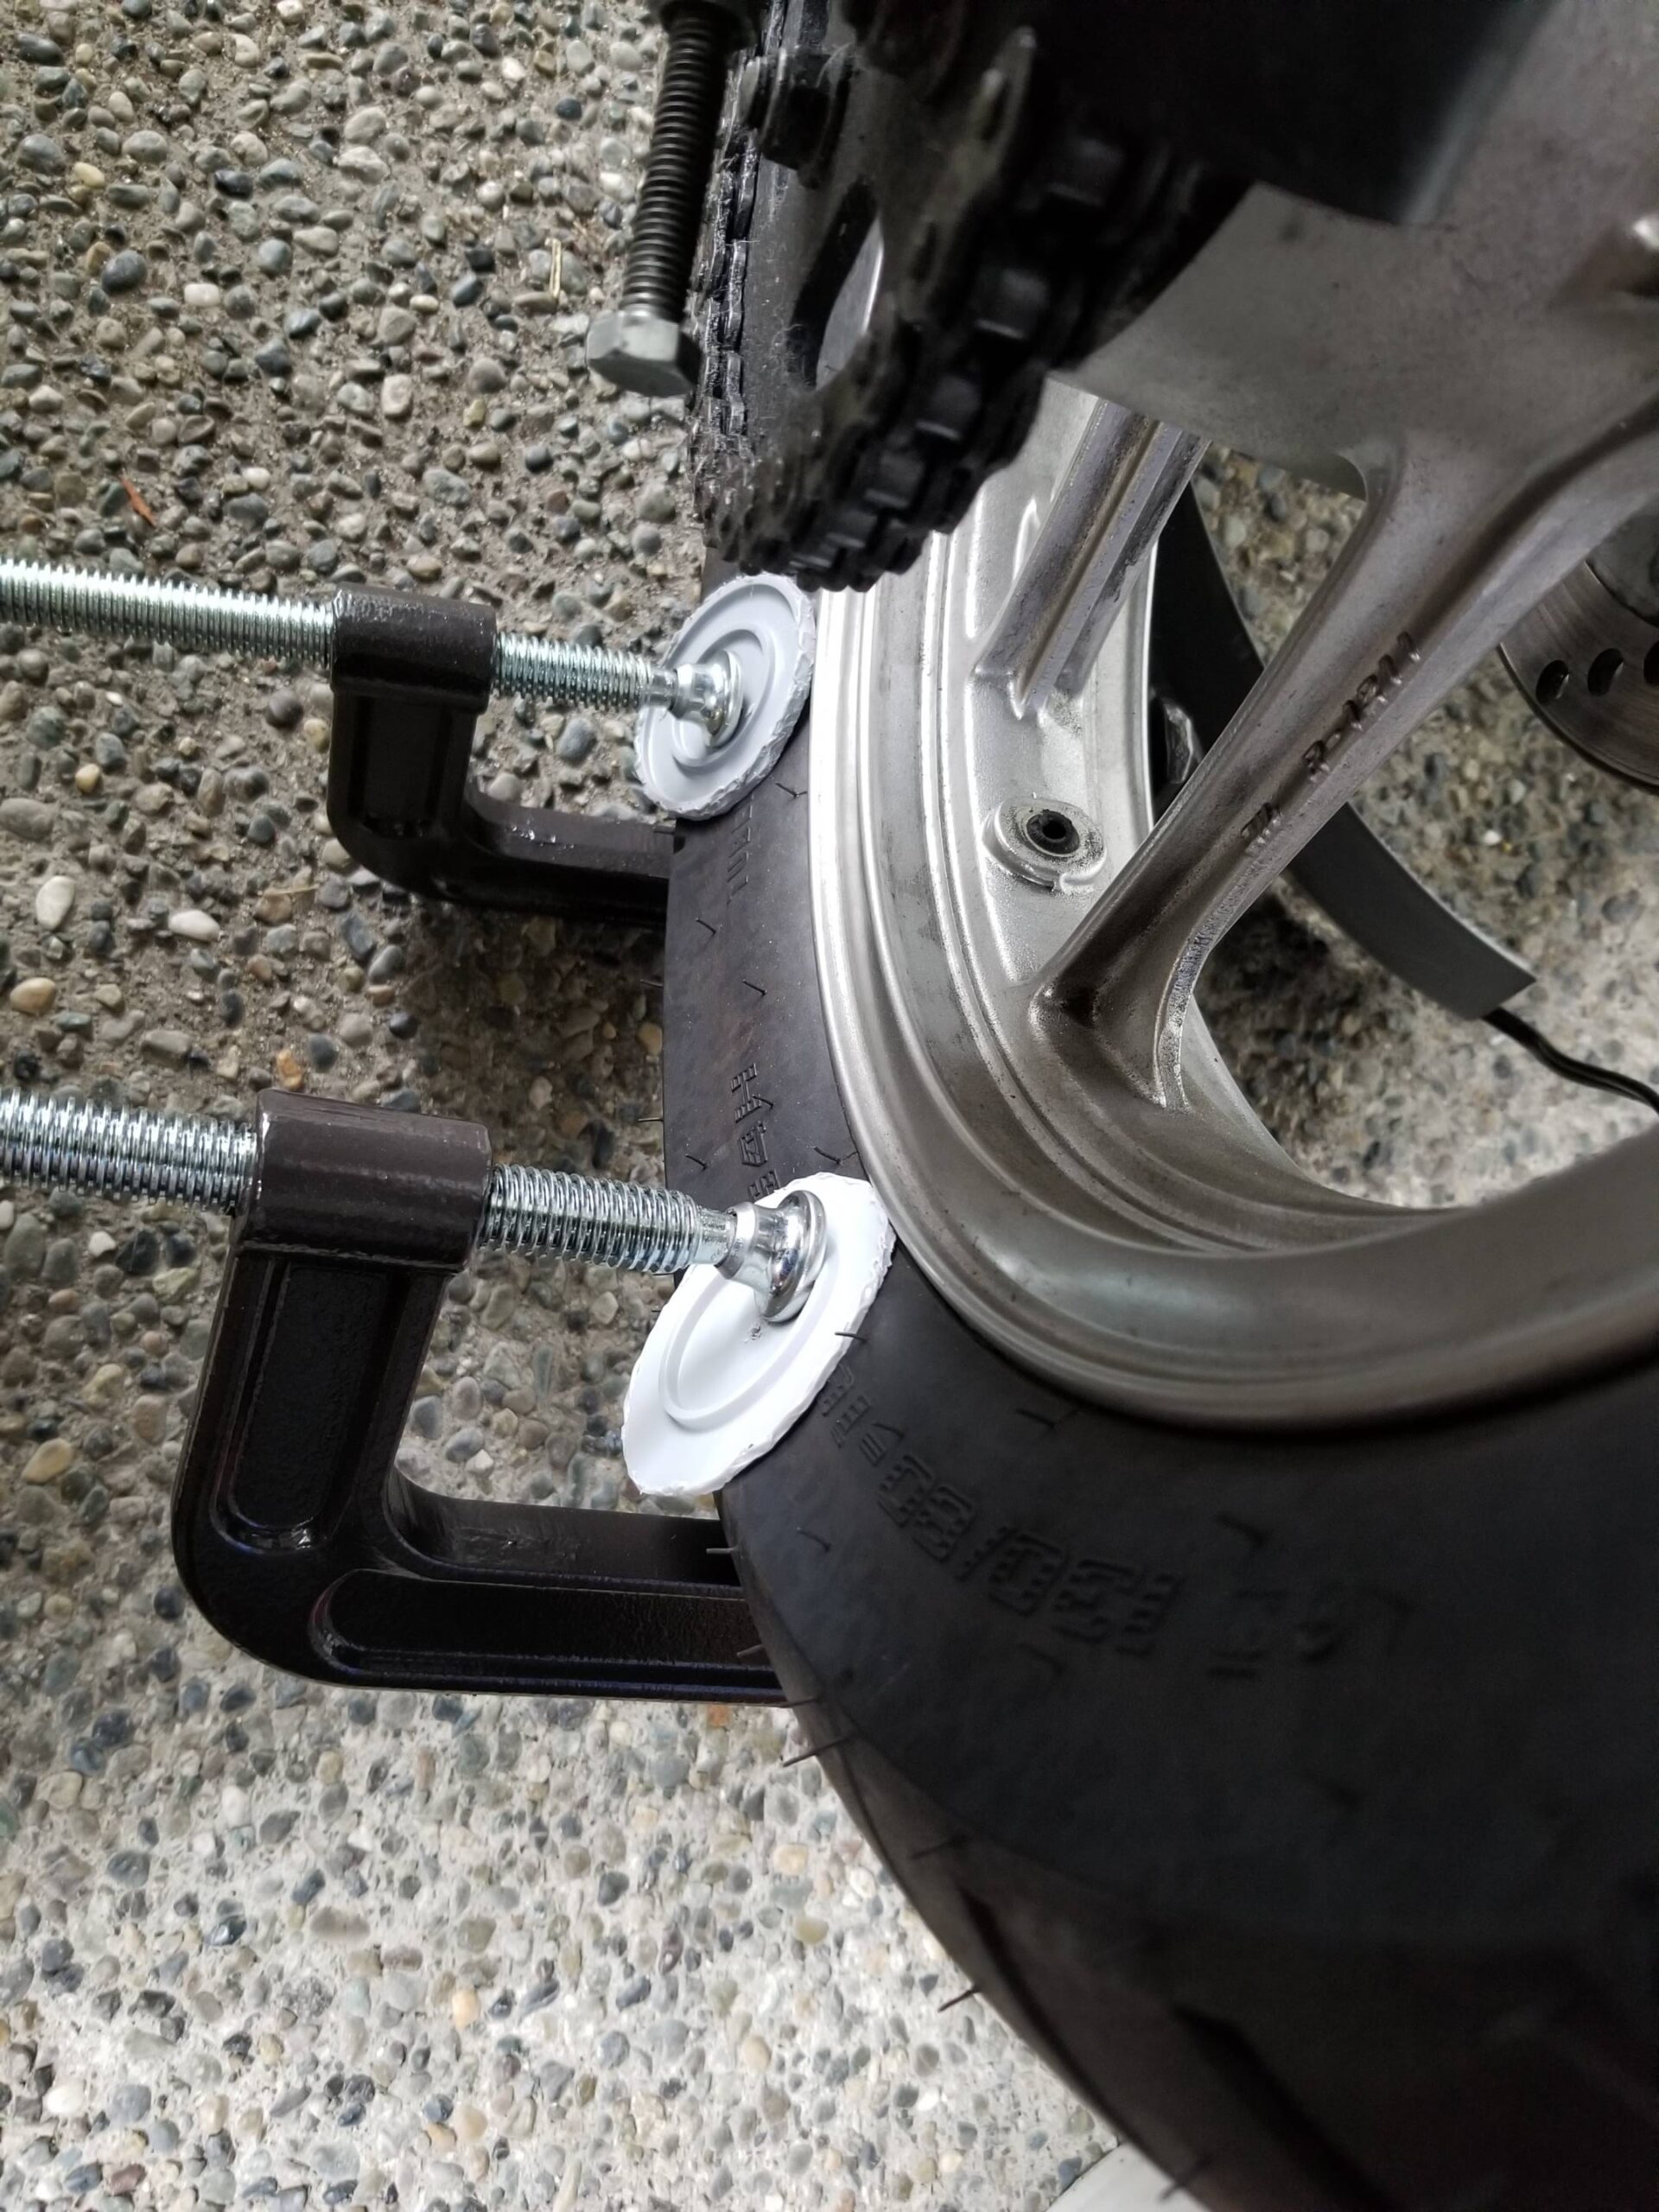
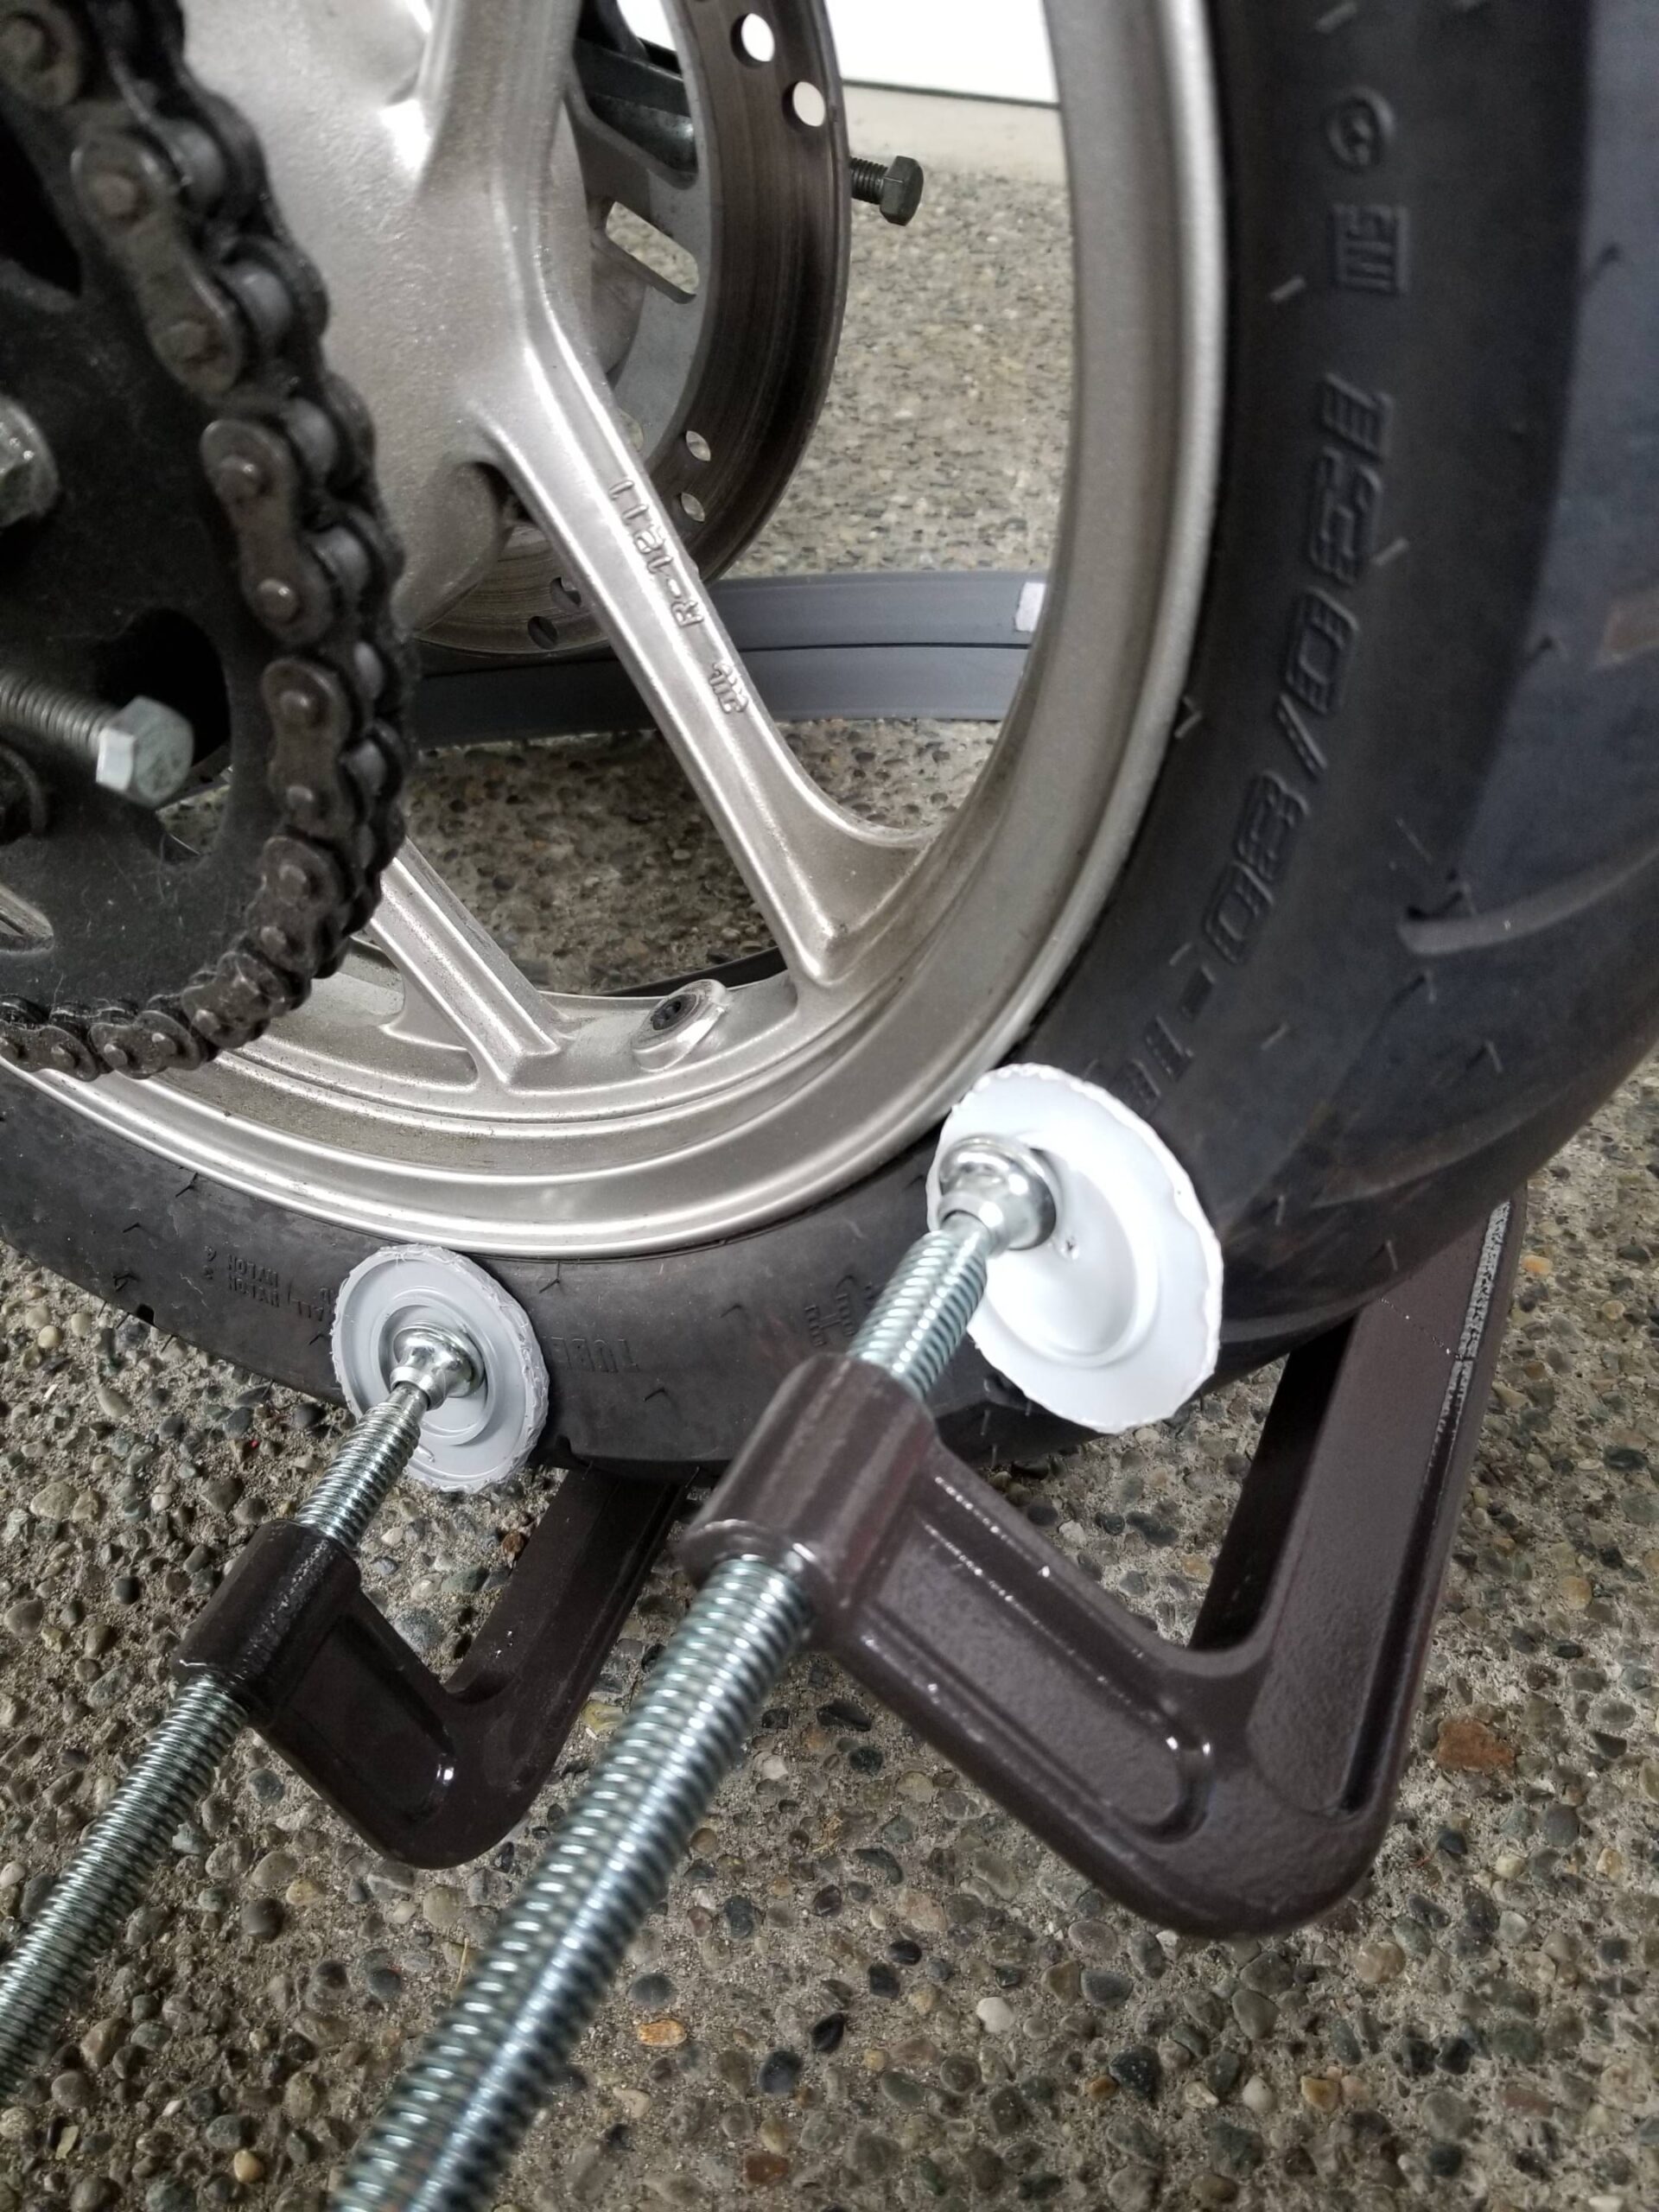
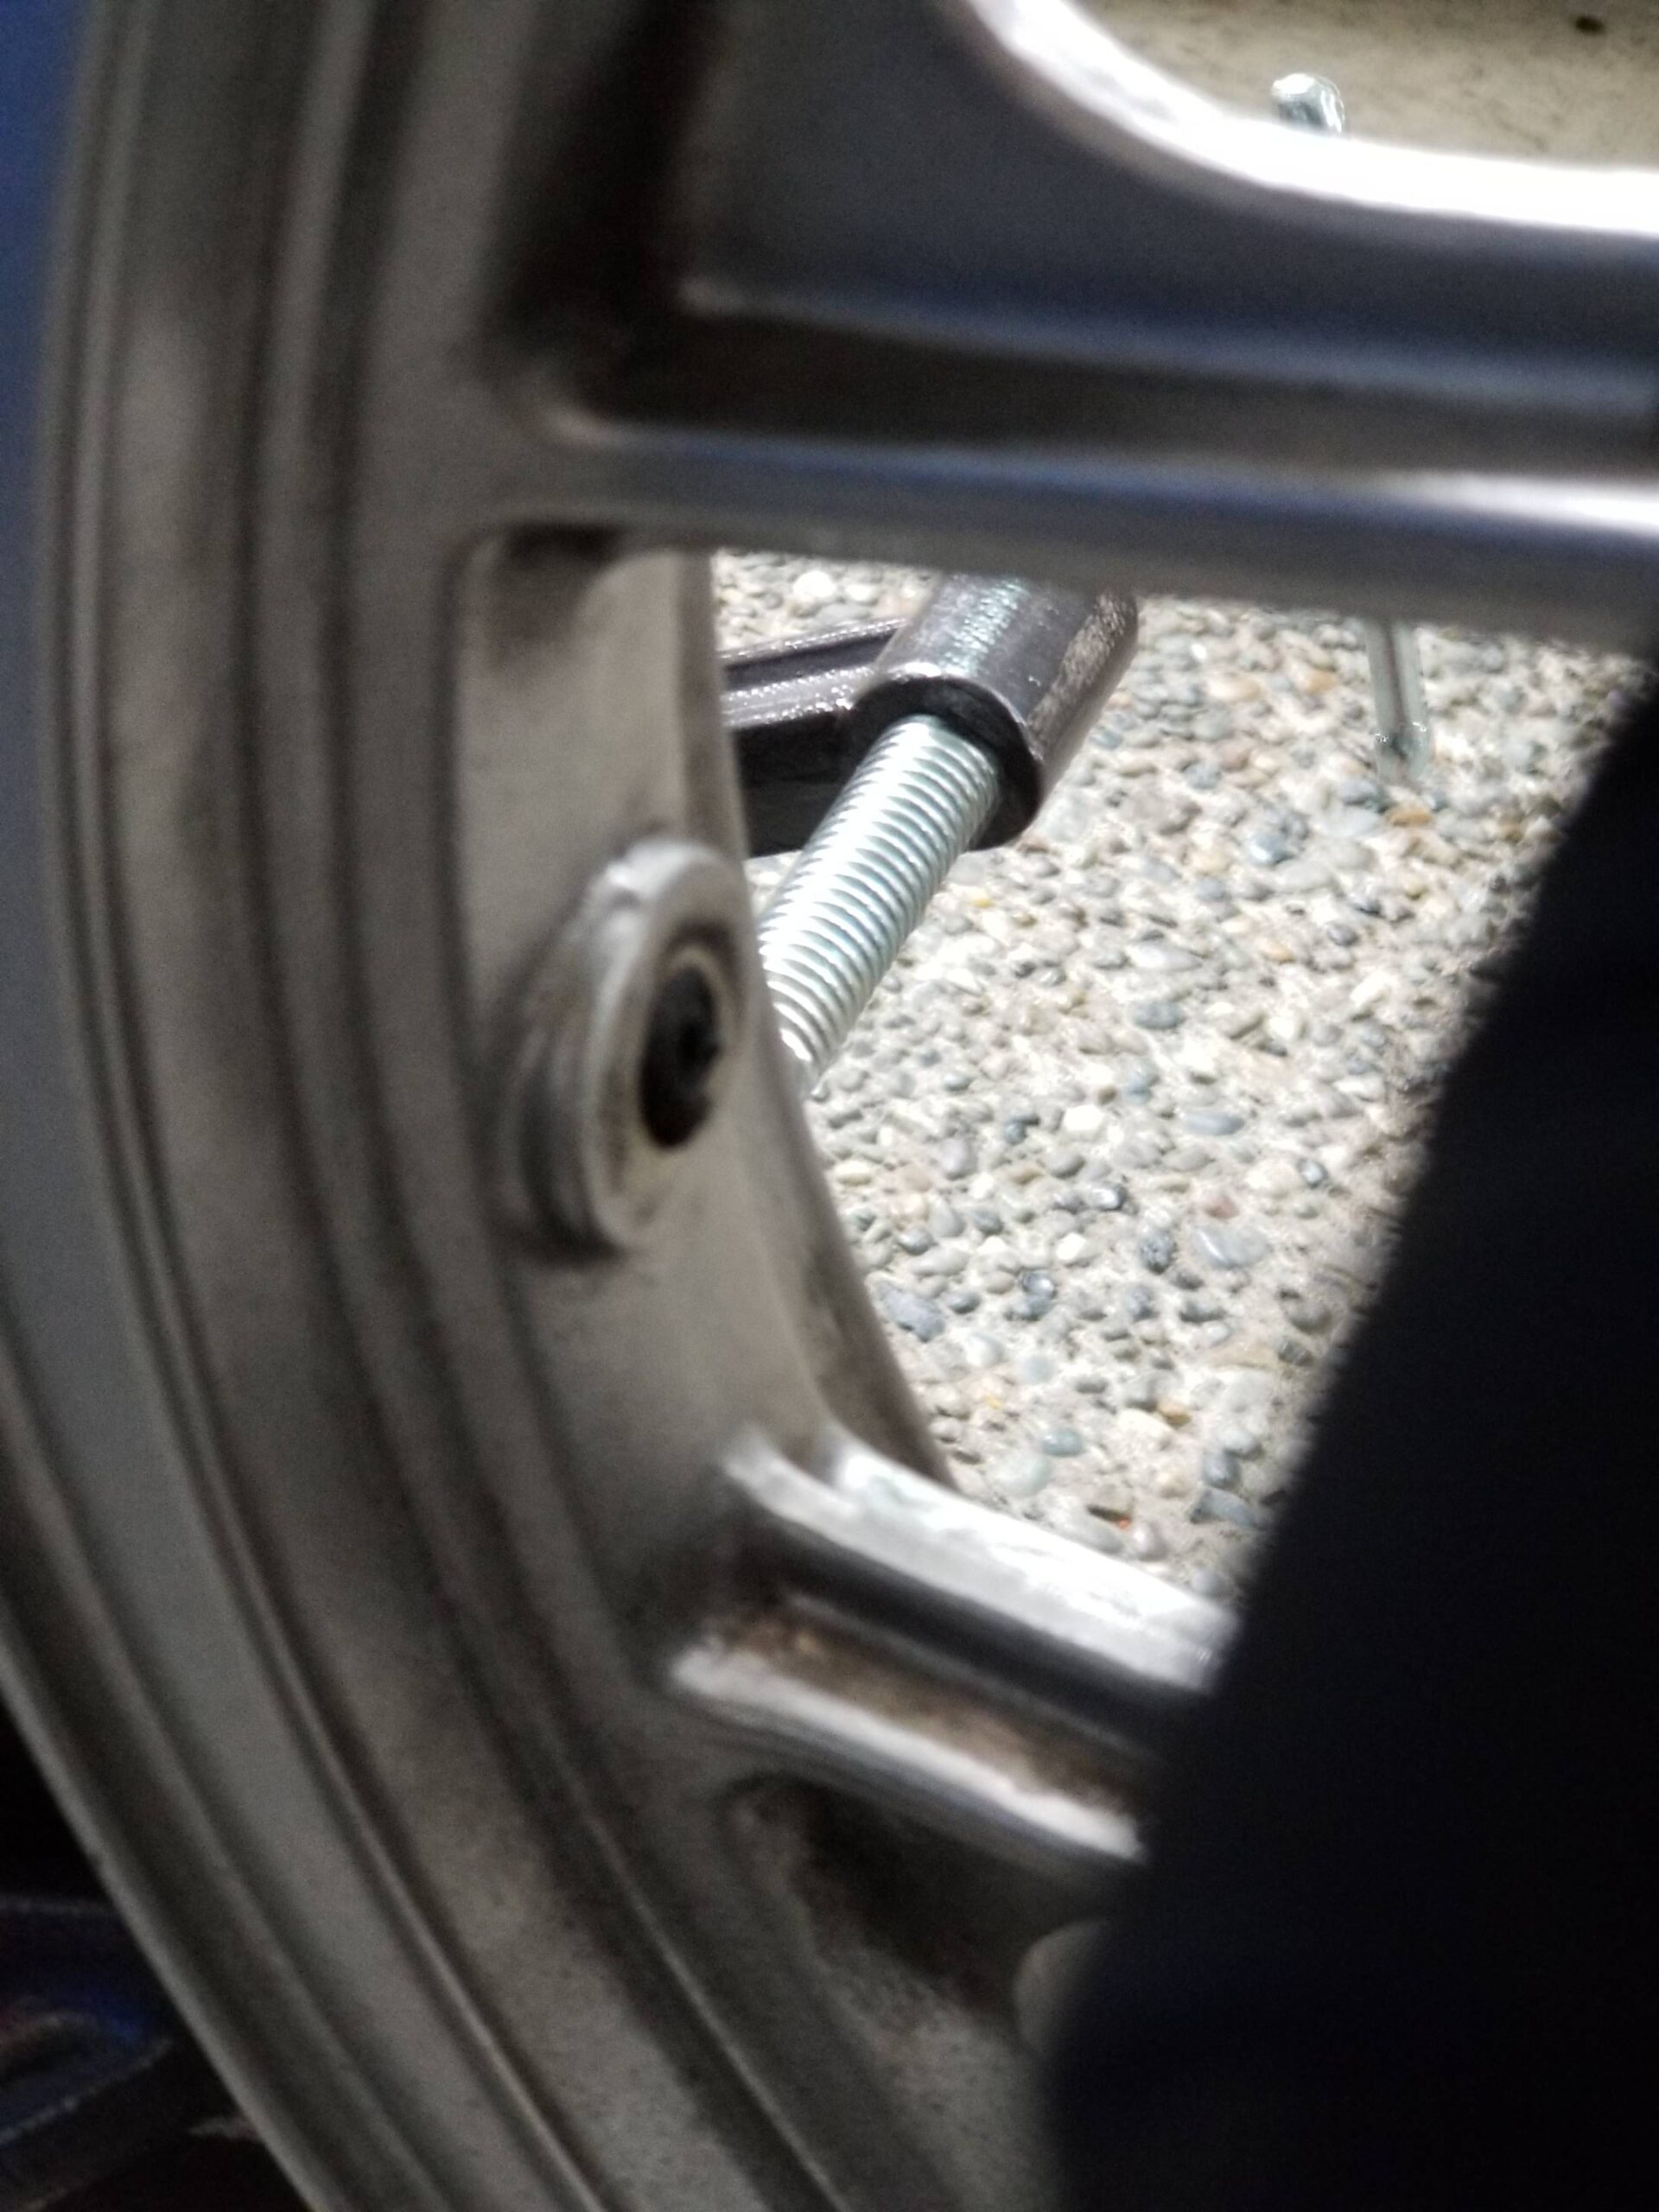
Notice the larger “C-Clamps”. As mentioned in this writ of knowledge, you need to utilized a length of clamp that will accommodate your tire width. **Certainly this will not work for oversized rubber!
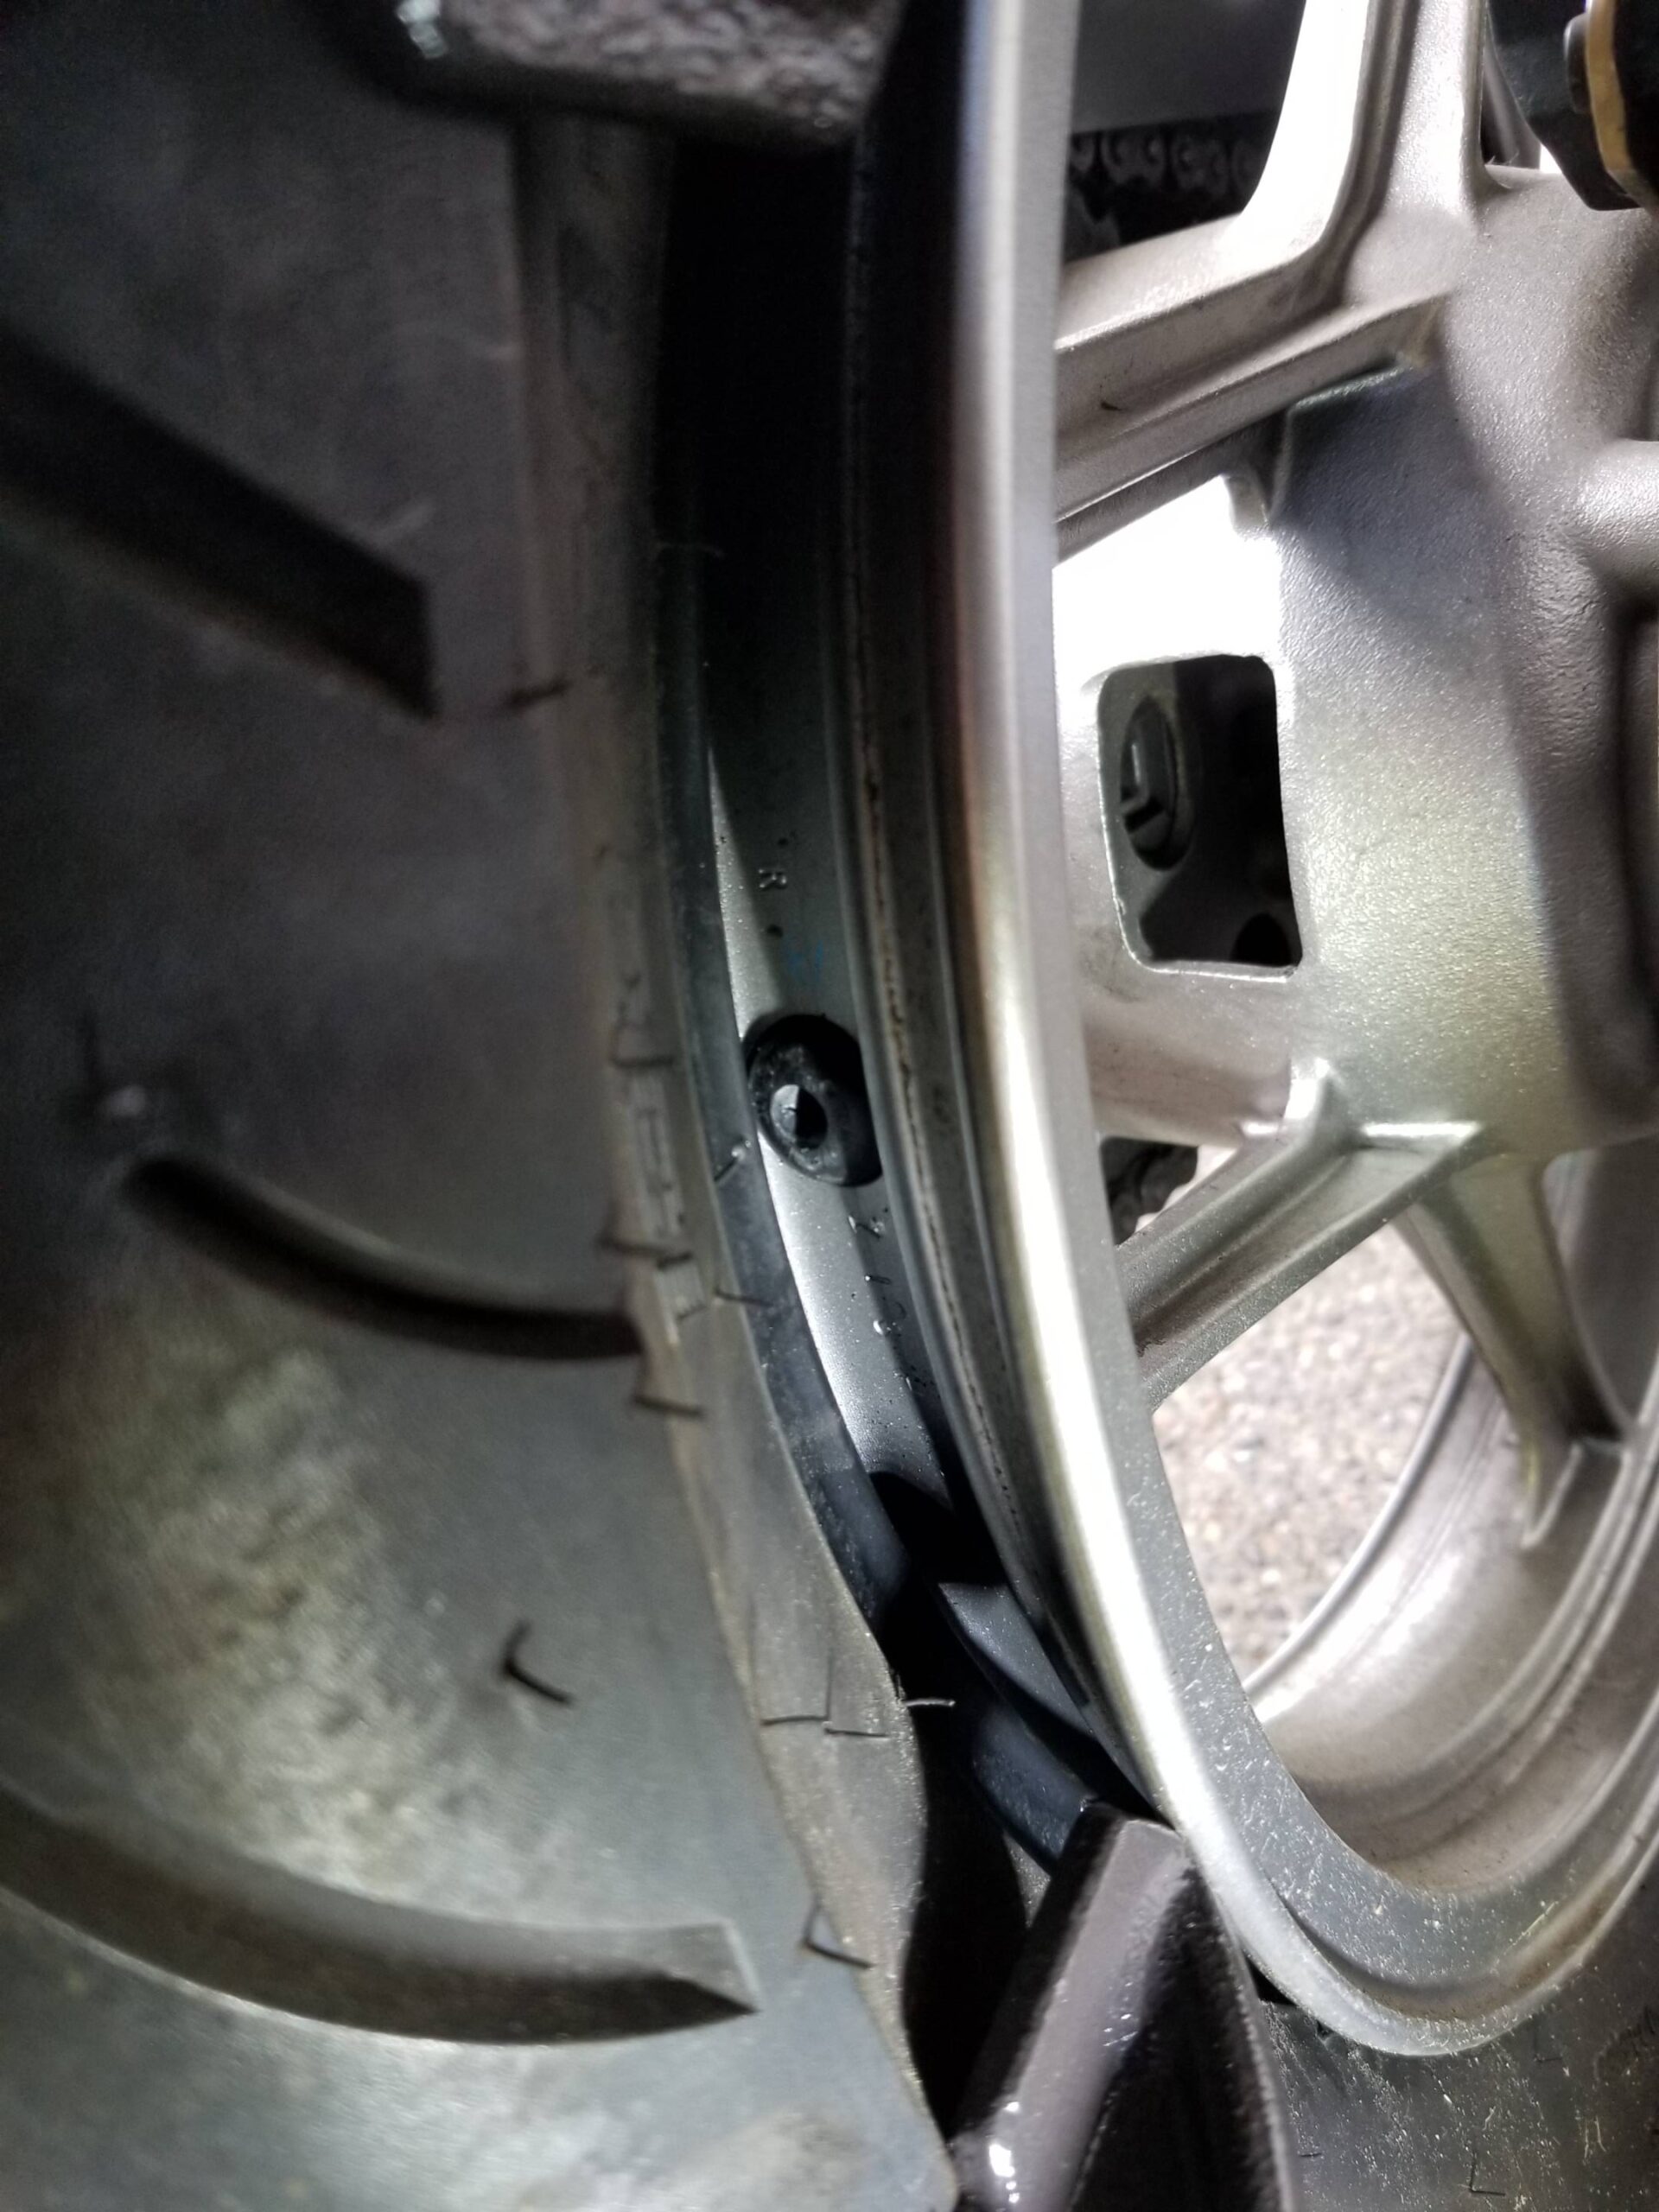
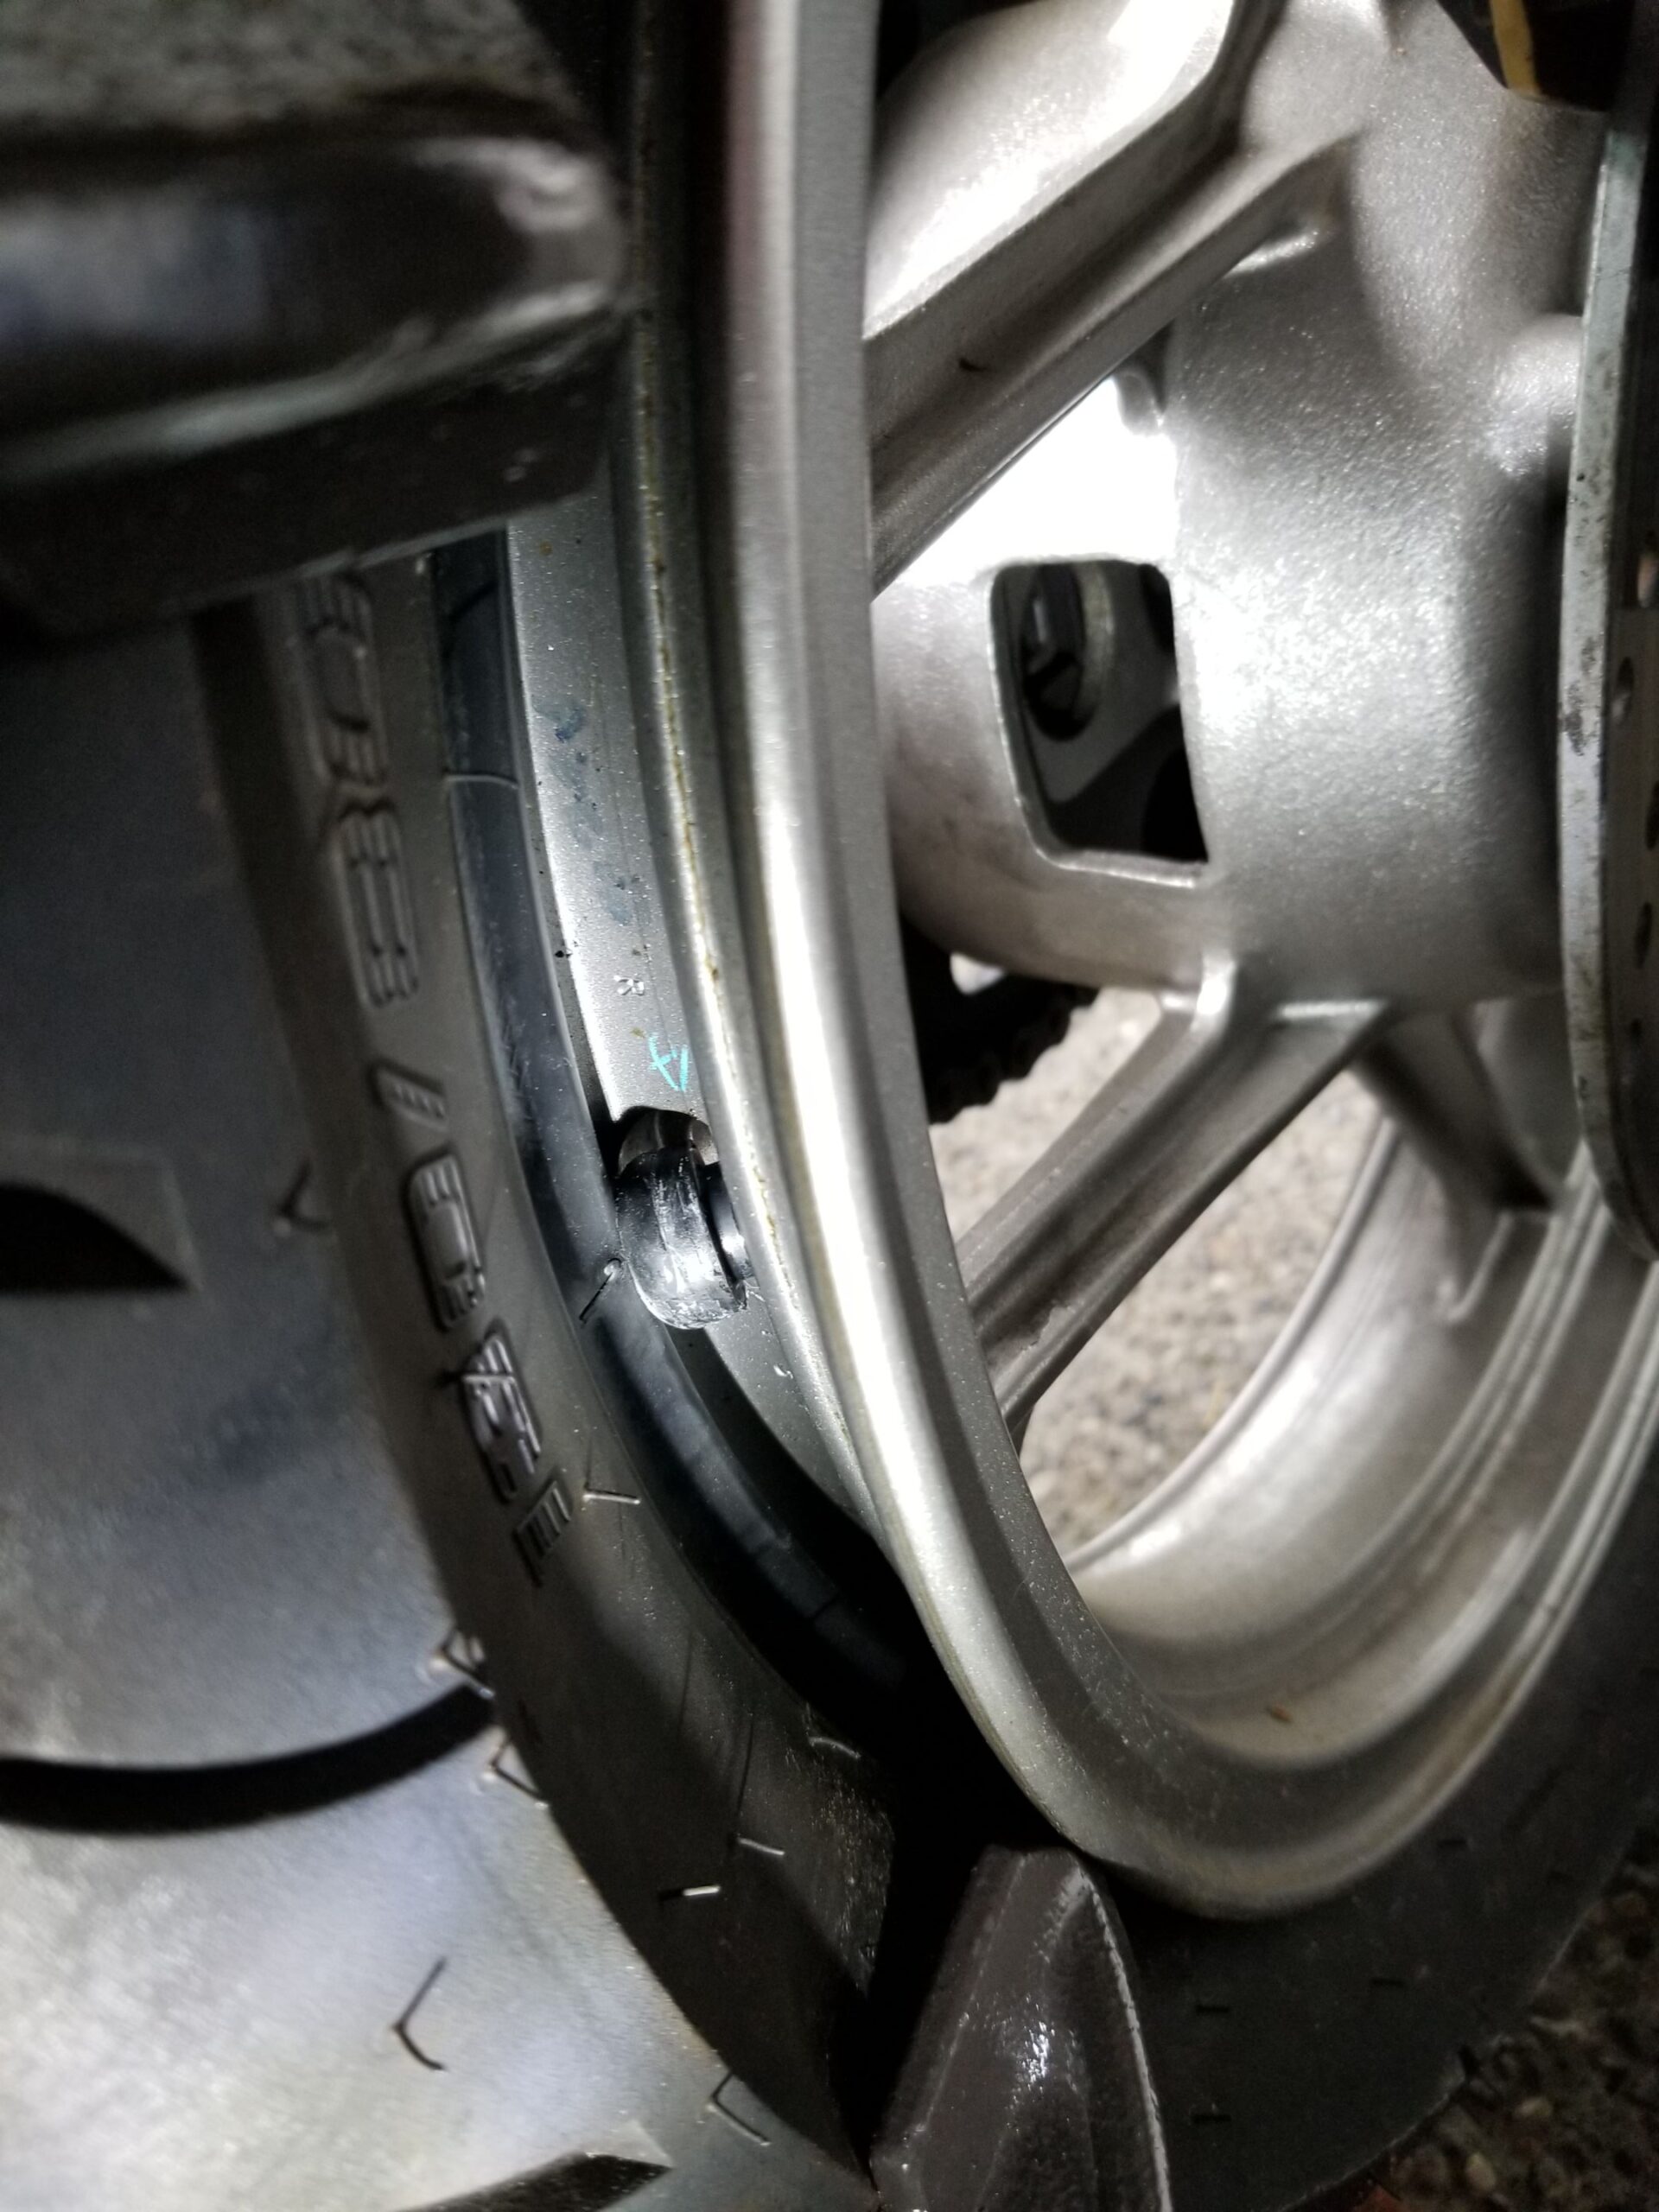
A cut-off rubber bottom half of old valve stem still remains (Better photo needed)
Back to bikes, fixing things and learning new tricks.
After discovering that one of our rubber valve stems was cracking due to dryness and not holding air, we knew we needed a repair quick! Without many Moto shops open, having strange hours, return times as well as a lack of mechanical consistency on the shop or dealer side……..well, now you understand why we attempted DIY this problem ourselves.
(Sidenote: Do some self research on how so many industrial rubbers used in seals, bushings, gaskets and on and on were made out of inferior materials by OEMs and contractors due to a fear of restrictions on both certain oil based methods and natural rubber restrictions (Green Hell) anticipated in the early 2000’s.)
Apologies for the poor quality (Hands were Full), “Hunk A’ Hunk A’– Burn’n Luv!”……..um really just the bottom half of the rubber stem remaining. In our case we could rip it off by hand!!
Que the mass searching of online videos covering replacing valve stems on rims etc.
This is when we discovered Mitch’s Scooter Stuff channel via BooTube! (This is a very excellent site for those with small or basic bikes that lack the room or wish to maximize their DIY skills on a small budget without all the tools.

This is a swipe of Mitch’s Site. Very cool DIY!
The video in inspiration is namely “Suzuki Burgman 400 Valve Stem Replacement ** Warning Tip | Mitch’s Scooter Stuff”.
We love Mitch’s ability to illustrate via gestures and good up-close camera work. Mitch is either hearing impaired, or possibly deaf and is a great communicator visually.
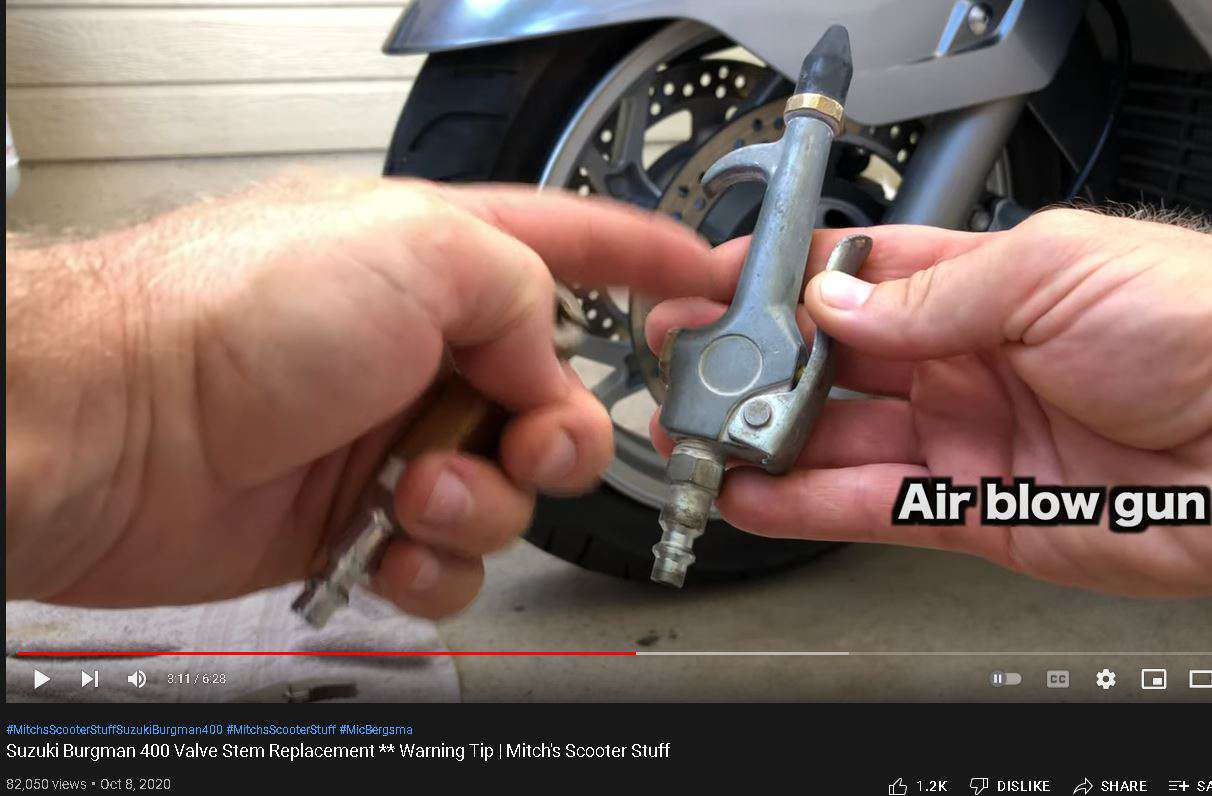
Mitch showing you that you need very quick pressure etc. (Photos in these sections are from Mitch’s site, all other Motosquirrel© all rights reserved.
The concept is simple. By deflating the tire(s), squeezing their sidewalls with “Gigantor” C-clamps and pushing the original valve stem cores through the rims, theoretically (And MOSTLY in practice!), a handy mechanically inclined Moto-ist (Yep! Just coined the term here!) can re-install new valves without removing the entire wheel/tire combo.
Is it simple?- Yes! Are there mistakes that can be made……Yes! Hence the “Heaven and Hell” title.
A few very important tool inclusions must be, IOHO:
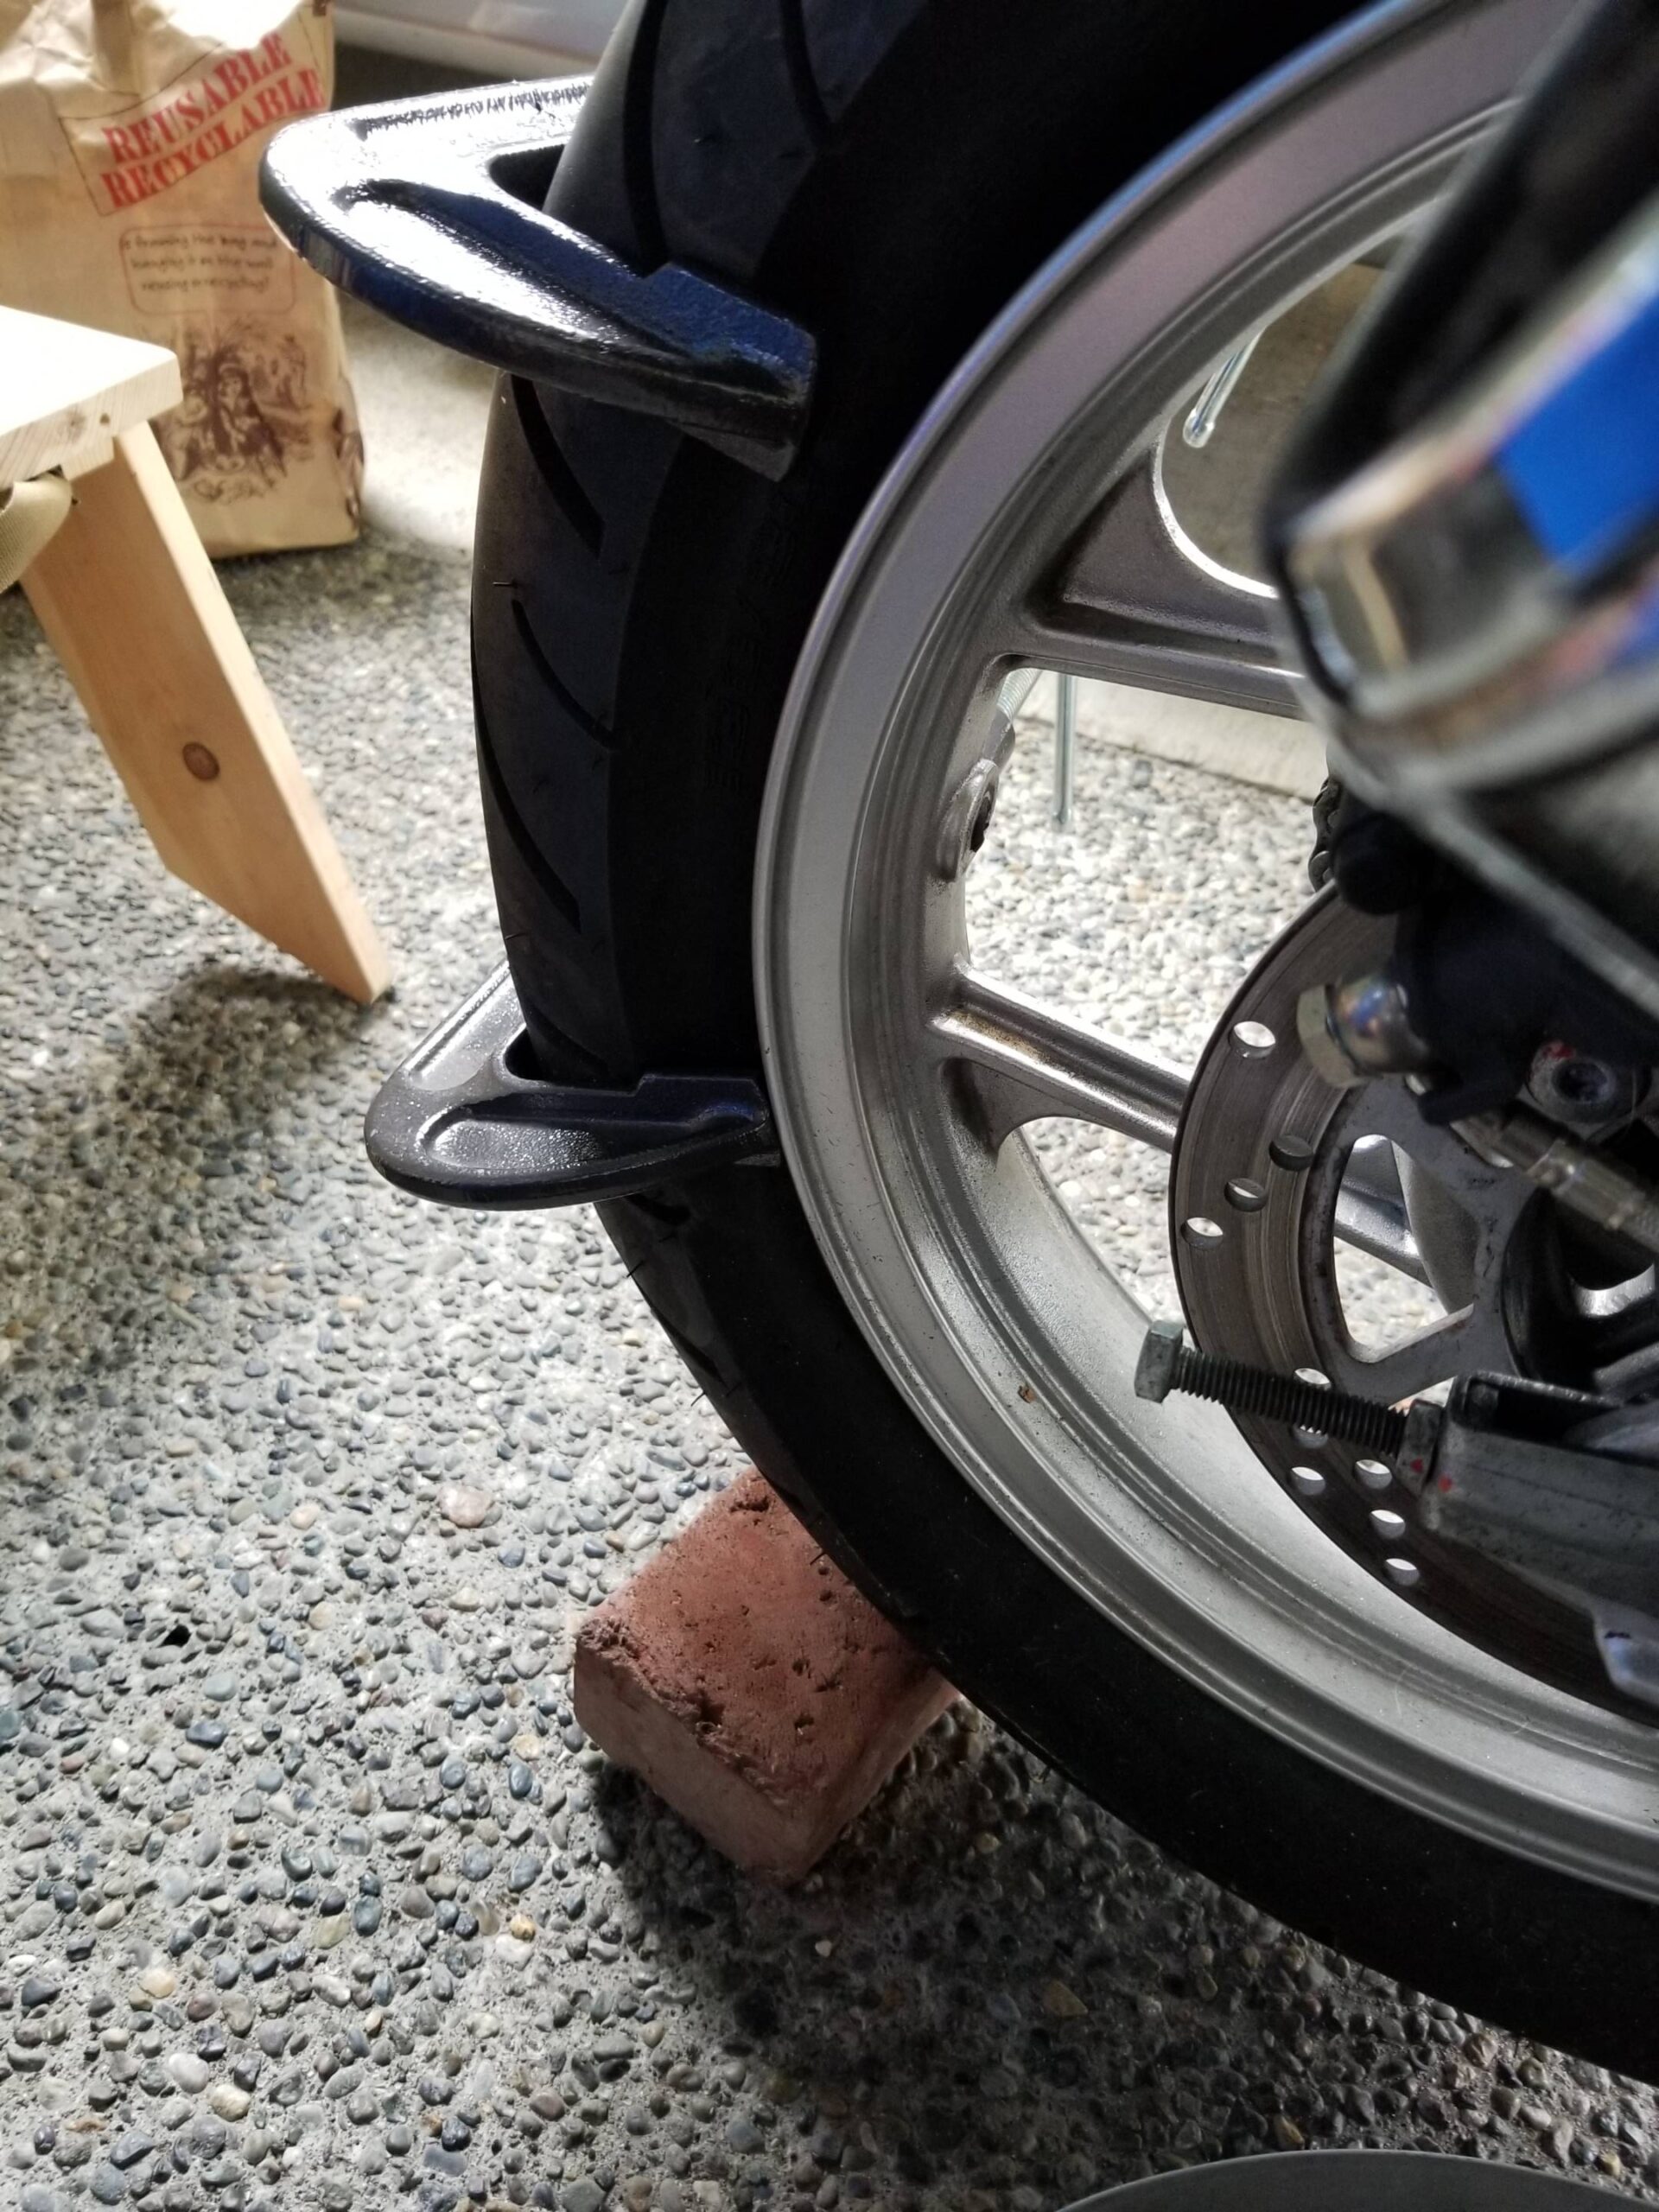
- Non-Marring tire irons (You will need to protect much more, although the wheels are not coming off, there is still a chance of a bead getting caught out or the need to work the bead(s) up or down.
- Plenty of protective tape or other protective towels, cardboard and the like (We used plastic cut-outs from 5 gallon buckets) to allow more surface area for the clamps to grab, not slip and also not to damage the sidewall of the tire.
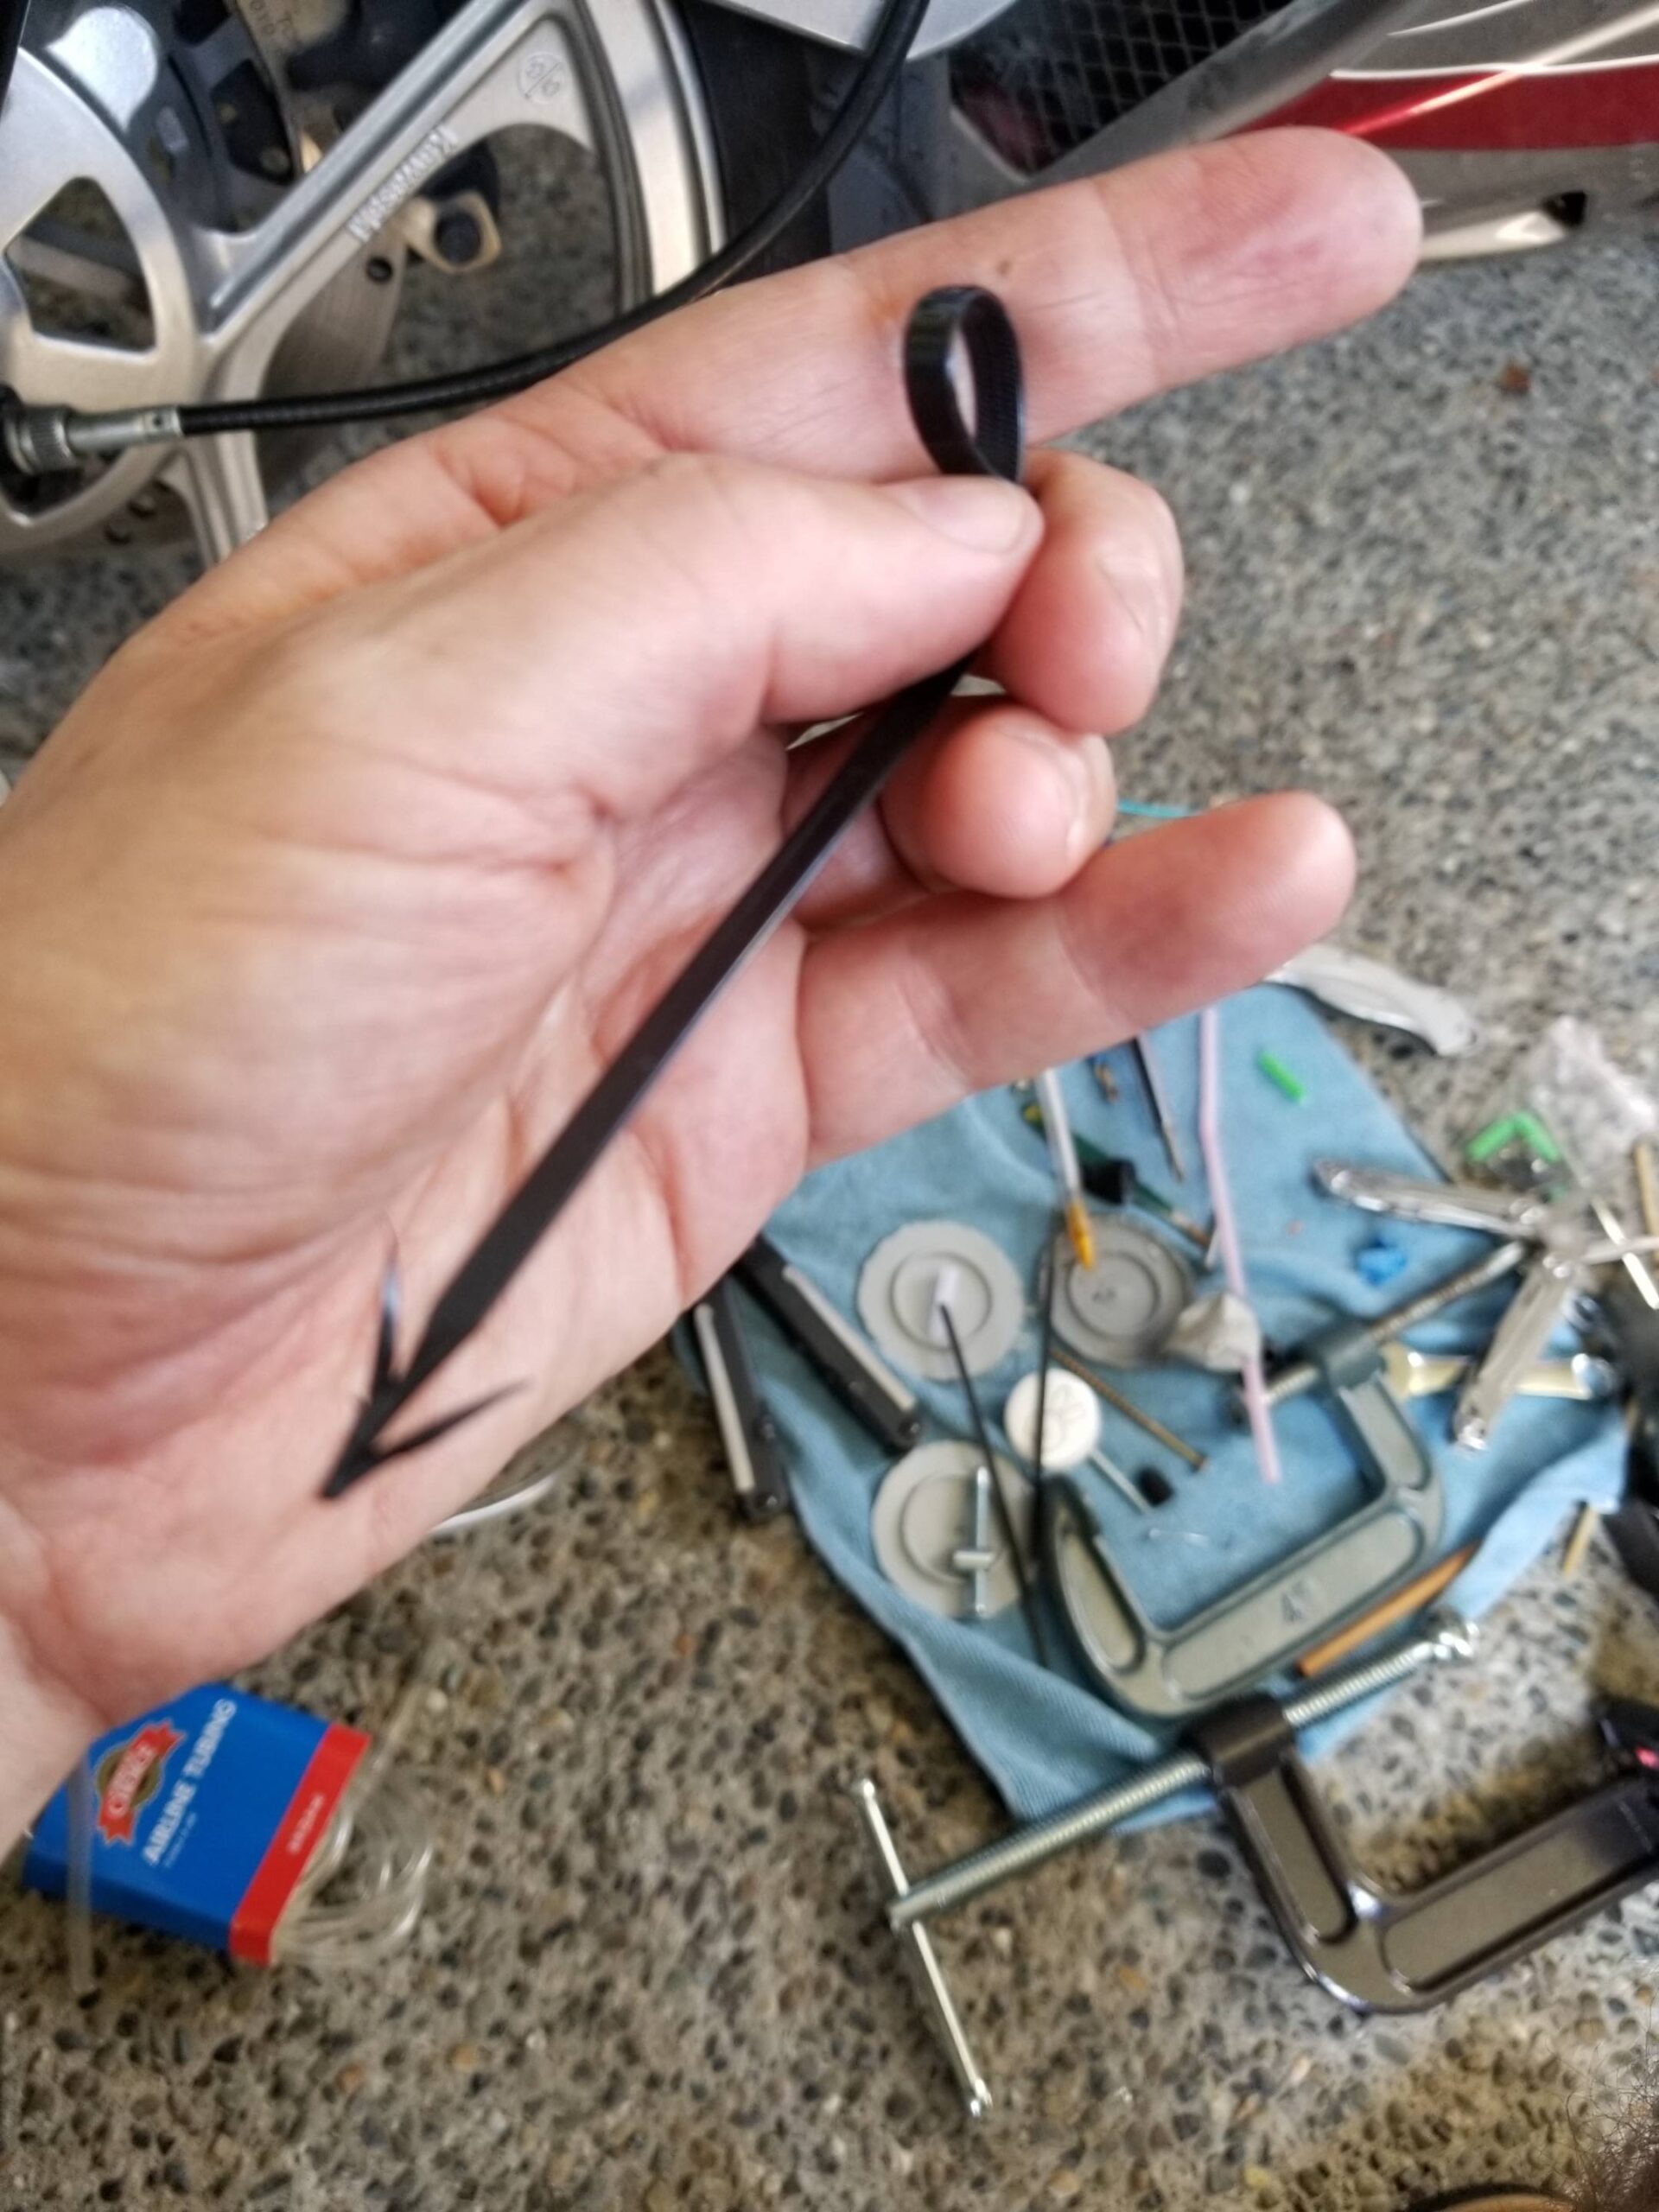
- ****SUPER IMPORTANT**** Make sure you McGyver a sort-of long and highly tensile metal cord, possibly industrial zip ties or very strong thin rope or bank line! (See Below)
Oh How we GO Through the HELL! (So that YOU don’t have to!)
This first and second mentioned above are self explanatory. The third is something that we found out the hard way!
During our process of removing the rear tire, unlike the front that went so quickly it could’ve been measured in under five minutes, we lost the valve remainder within the purposedly pinched or now clam-shaped tire.
The valves were getting old, dried out and craggy, and hence the rear broke directly in half while pulling upwards to remove it! At that point we then had an awful game of hide and go seek the small chubby coin sized valve remainder bouncing in the dark confines of the clamed up tire- NOT ideal!
We suggest running a long wire as mentioned above (# 3) through the center of the valve so as not to lose EITHER end of the valve when pushing, pulling or twisting on the old piece.
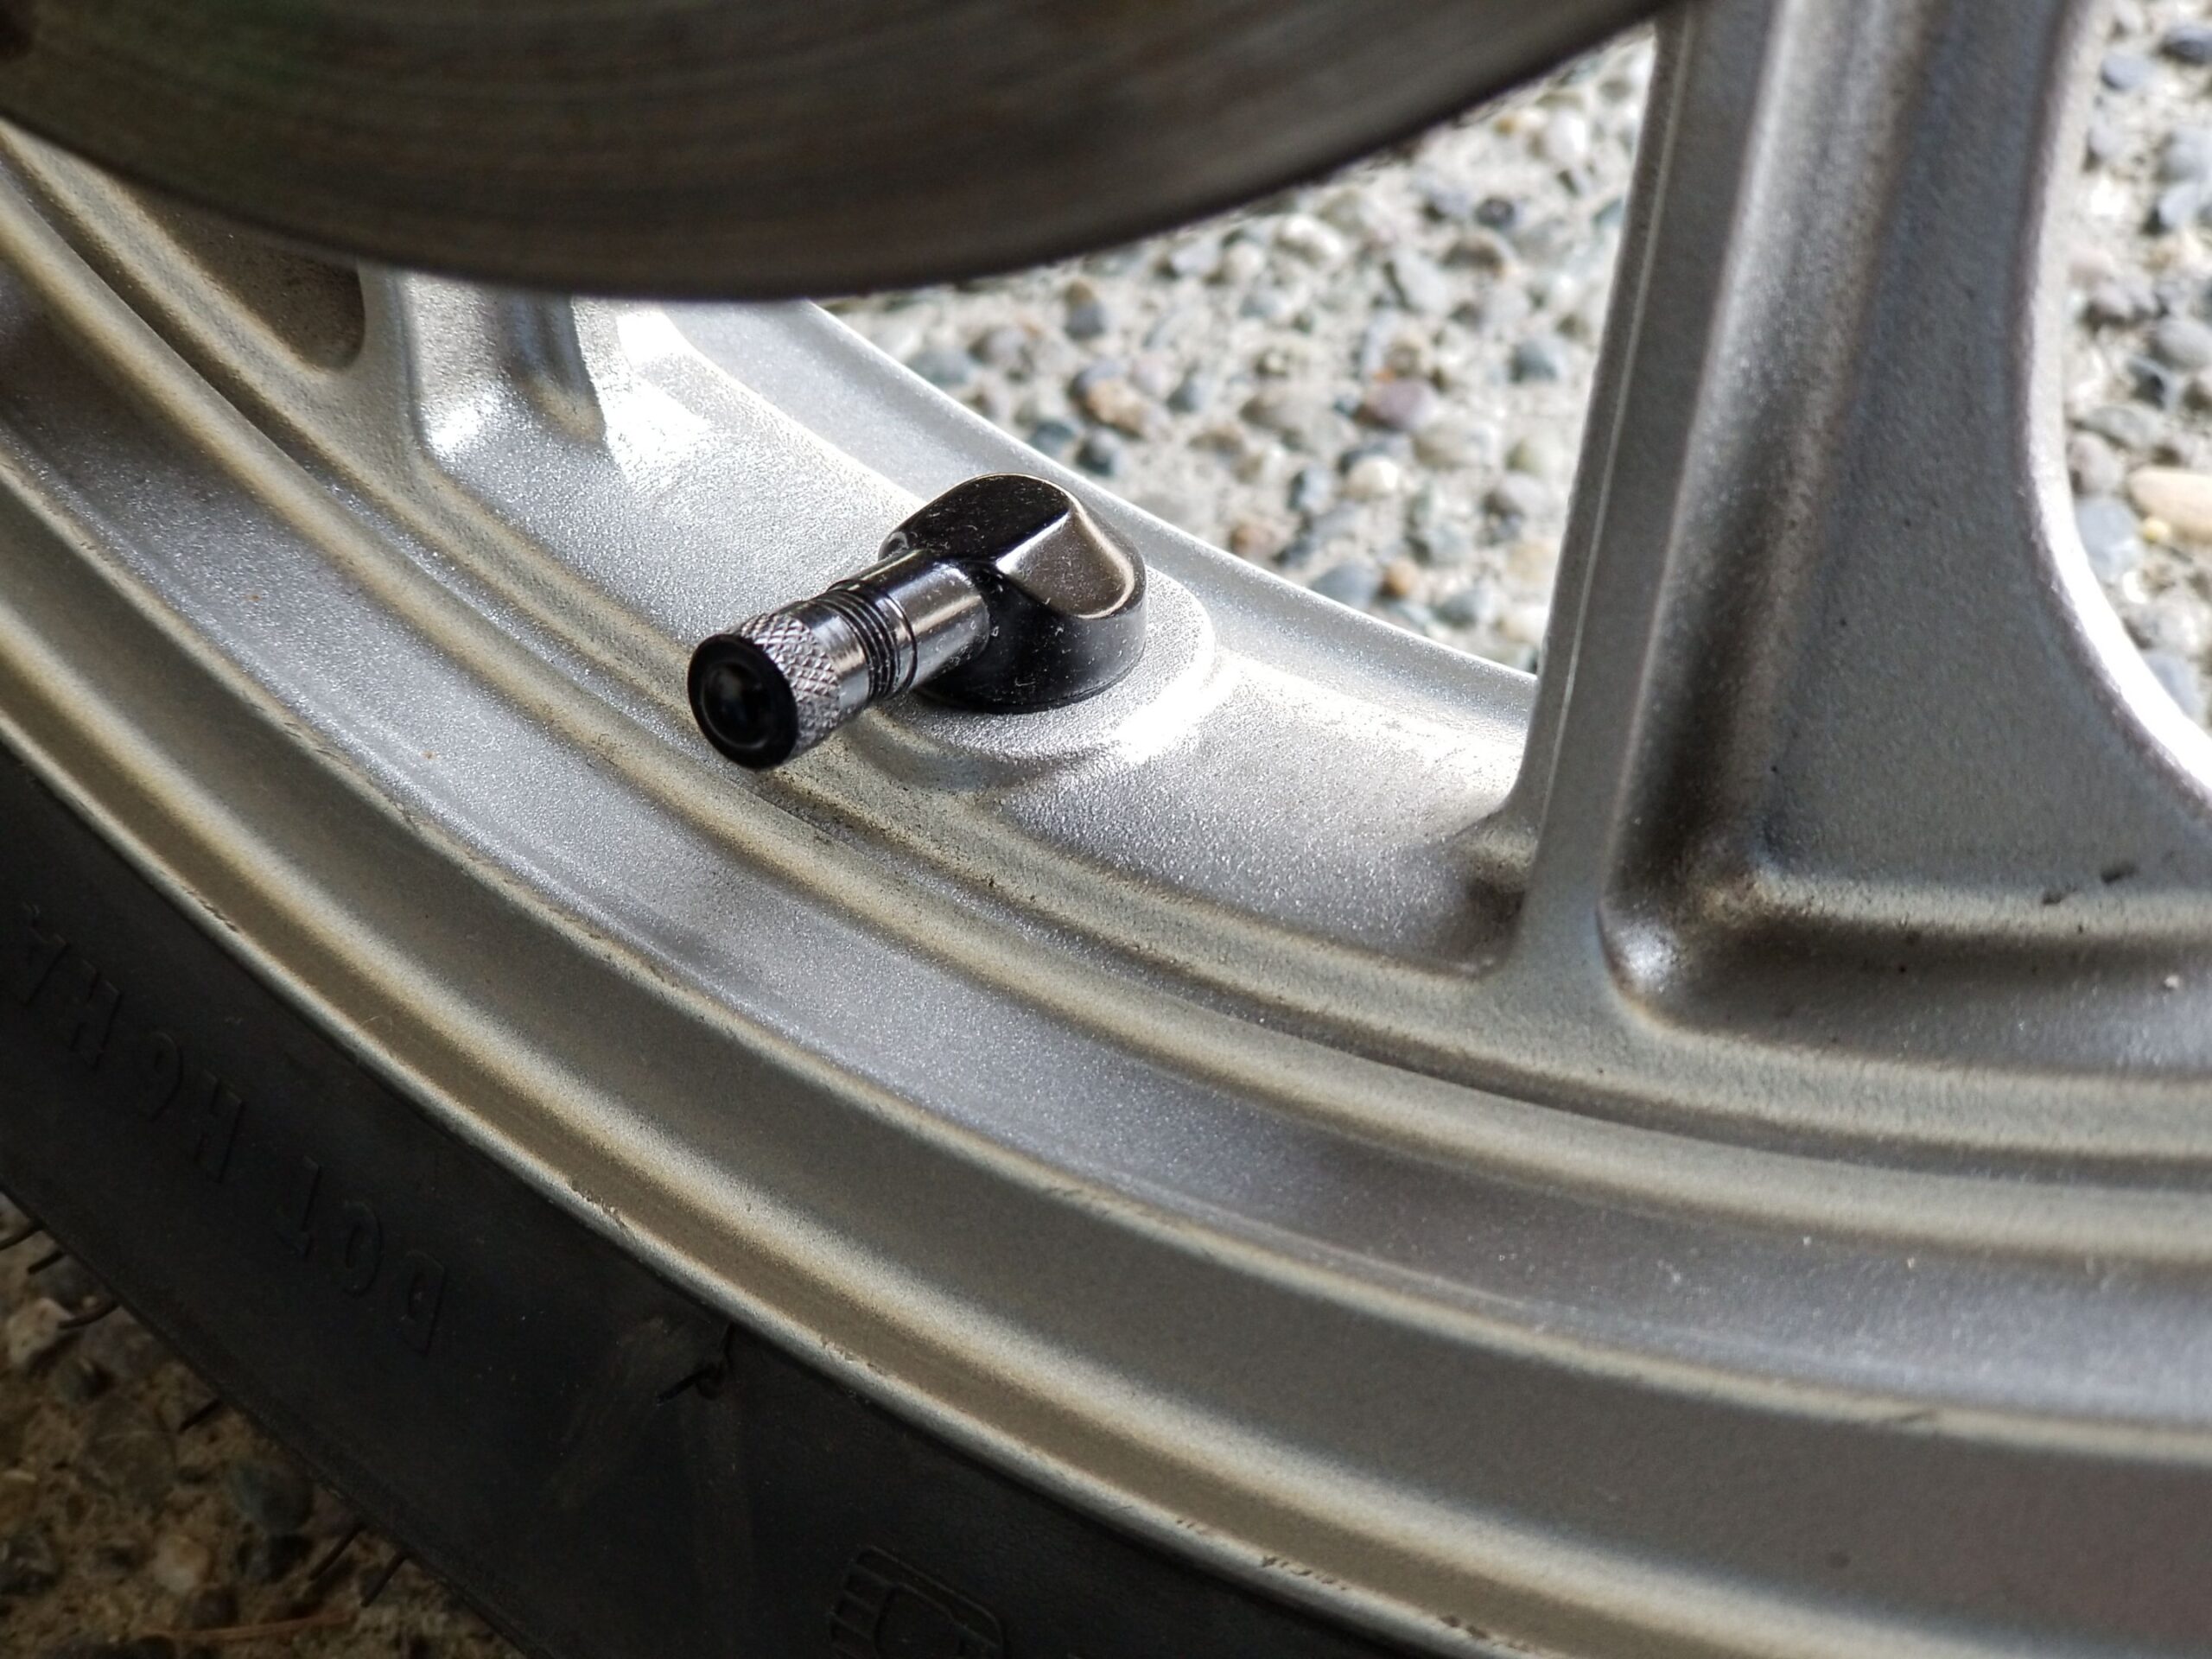
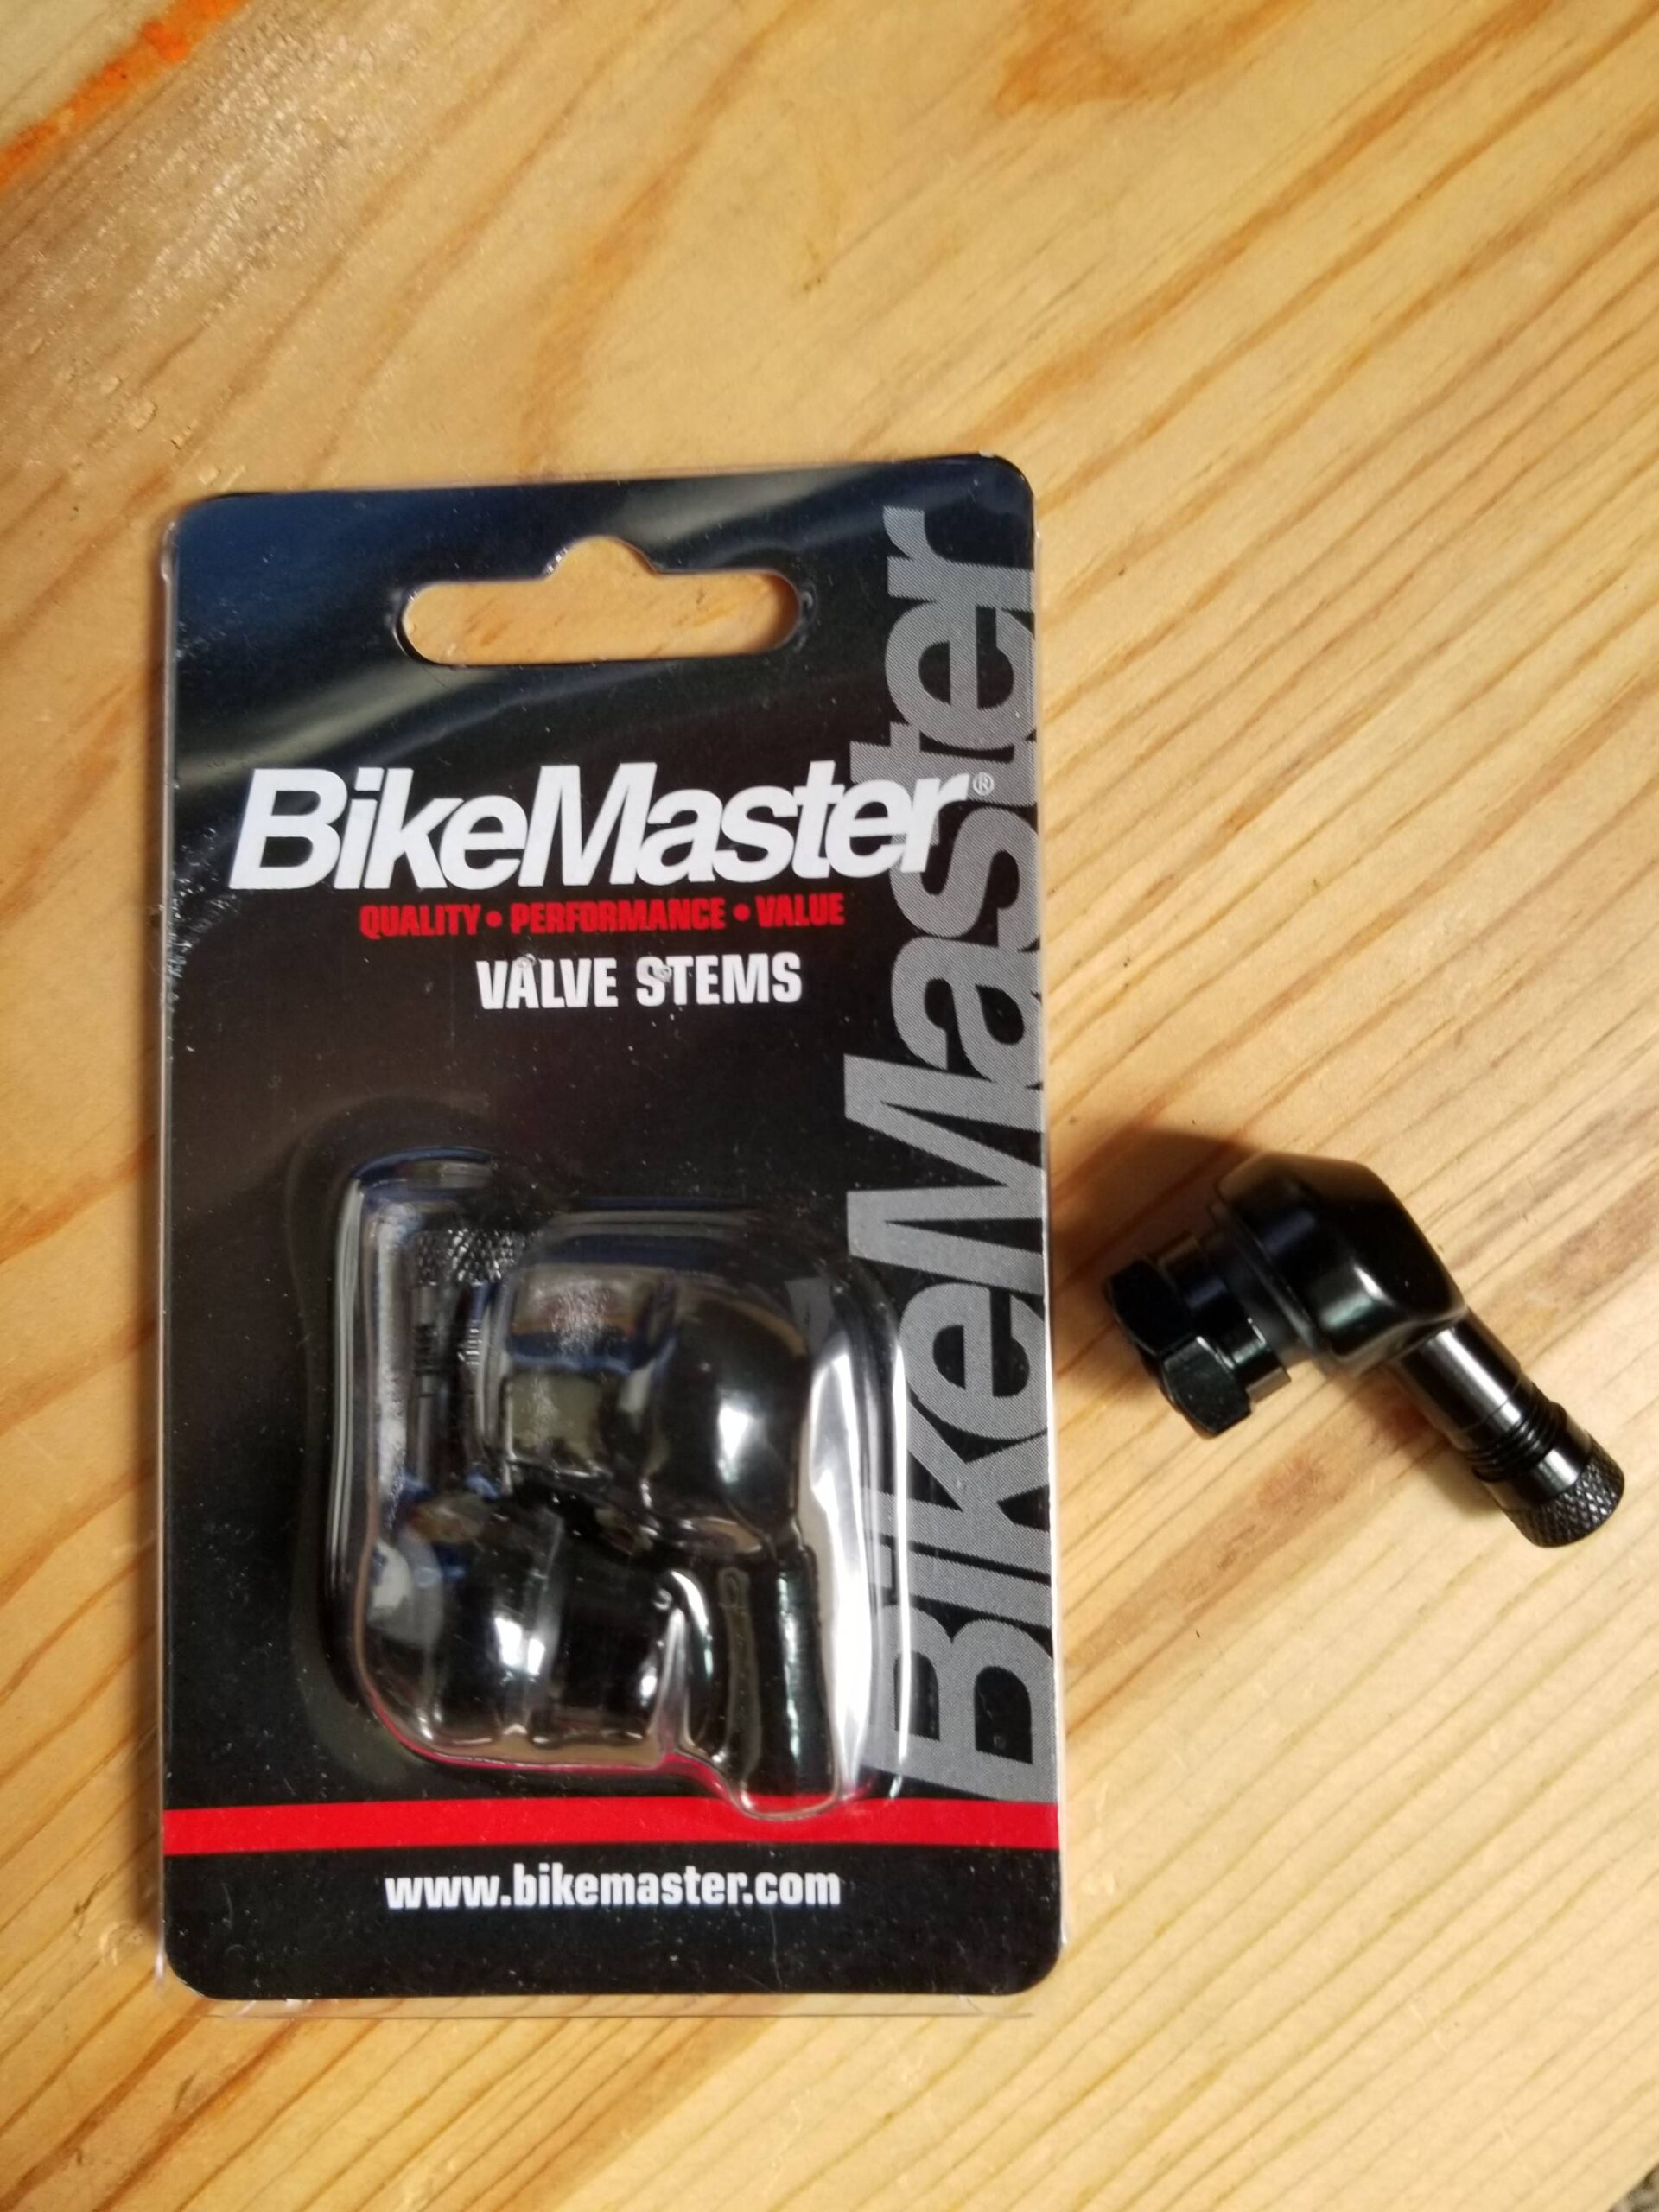
DONE! We like to think that a Right Angle valve is MORE than just SEXY……it is also very functional
SUMMARY:
This IS a very, very cool trick that requires average maintenance skills, a bit of McGyverism, some prep, a pressurized inflator and “BAM!” you have new valves!
Final CAVEAT:
This DIY trick should mostly be attempted on thinner, less Moto-GP type rubber tires. In our opinion, it would be much more difficult to pull off with heavier rubber compound between the C-clamps chosen.
Good Luck!
Motosquirrel!